Because there are risks in the process of importing data, please kindly make a database backup before importing.
We made the import program into multiple executions in order to respond to the large amount of data in Jira. Meanwhile, processing a small amount of data in each execution. The import process consumes a large amount of memory. (So please try to ensure that no users access ZenTao during the import process.)
In addition to importing Jira data, it's also needed to import Jira attachments, so please place the Jira attachments in the specified location on the server.
Next, import Jira database into the MySQL used by ZenTao, and then enter the name of the Jira database imported into MySQL on the page to proceed to the next step.
If all the above operations go well, click Next to go to the page for mapping Jira to ZenTao. (Please follow the prompts to set the map. If you leave the map blank, the data under that type in Jira will not be recognized nor imported into the ZenTao.)
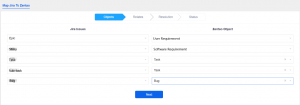
1. Jira Issues and ZenTao Objects
Map Jira issues to ZenTao objects. The ZenTao objects include User Requirement, Software Requirement, Task, and Bug.
Click Next after the settings are completed.

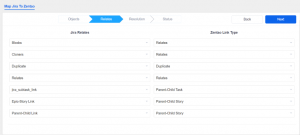
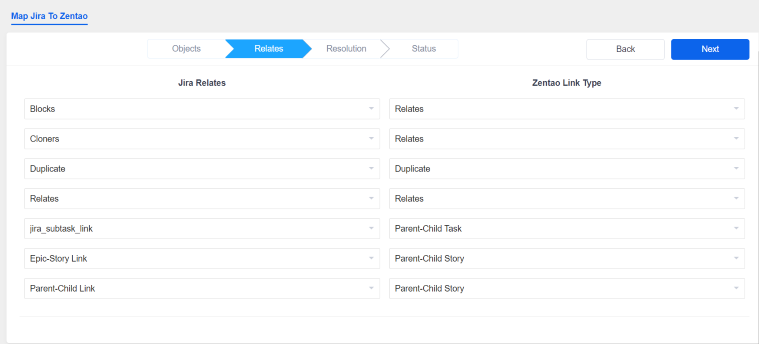
2. Jira Relates and ZenTao Link Type
Map Jira Relates to ZenTao Link Type. The ZenTao Link Types include Relates, Duplicate, Parent-Child Task, and Parent-Child Story.
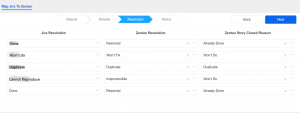
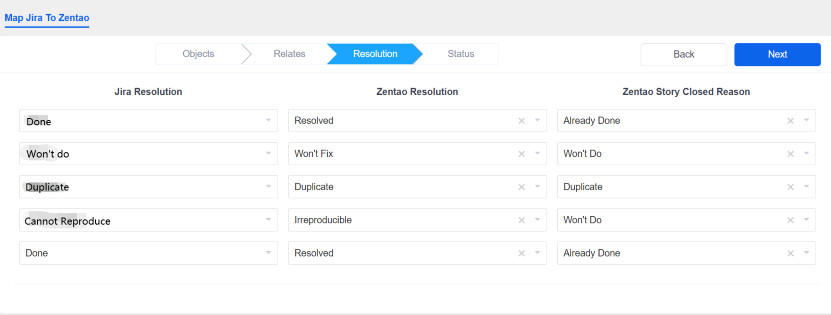
3. Jira Resolution and ZenTao Resolution
Map Jira resolution to ZenTao resolution and set the reason why to close a ZenTao story.
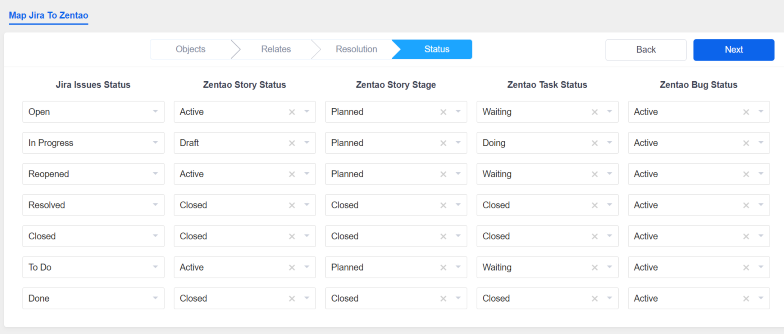
4. Jira Status and ZenTao Status
Map Jira status to ZenTao status, Zentao story stage, Zentao task status, and Zentao bug status.
Because Jira issues, relate, resolution, and status are customized, we need to set mapping of relationships before import. Leave it blank if you don't want the data imported to ZenTao. The pages for the setting map are similar, so just make selections according to your actual situation. After finishing all the mappings, click Next to set Jira user.
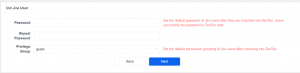
5. Set the password and privilege group for Jira users
Because the encryption algorithm for user passwords in ZenTao is different from Jira, we need to set the default passwords and privilege groups for the imported users.

After the password and privilege groups are set, click Next to the final page.
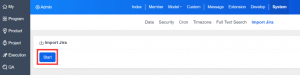
6. Start Import
Click Start. The import process will take a while, please wait patiently.

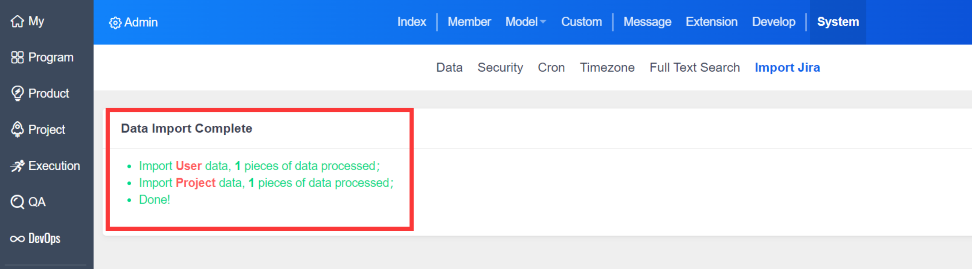
There will be a prompt "Data Import Complete" once all the data is imported successfully.
The second import method "Import from File" is similar to "Import from Database" above, we will not repeat it here.
All the best with the data import, and welcome to ZenTao world!