Catalog
Desktop
ZenTao Desktop is supported by XuanXuan.
XuanXuan is a secure IM product that supports private deployment, multi-platform operations. XuanXuan has built-in many plug-ins with rich functions.
In the ZenTao Desktop, you can communicate with members, discuss in groups, transfer files, assign tasks, etc., to achieve more convenient project management and a closer-knit team.
1. Configure ZenTao Desktop Server Parameters
Take the Windows 64-bit installation package as an example.
1)Click xampp/start.exe to start ZenTao, and uncheck the Apache authentication in the lower left corner of the integration panel.
2)Confirm whether the x.php configuration file exists in the xampp/runner/res/apache/conf/httpd.conf configuration file. If it does not exist, the following content needs to be added.
<Files "x.php">
SetHandler application/x-httpd-php
</Files>
<Files "ux.php">
SetHandler application/x-httpd-php
</Files>
3) After checking, you can go to "Admin" - "Desktop" to set the parameters.
Notes:
- The ZenTao server address is the complete Protocol + Address + Port, such as http://192.168.1.35 or http://pms.zentao.com, and127.0.0.1 cannot be used.
- ZenTao's Desktop Integration is enabled by default.
- The password is a randomly generated combination of 32 numbers and letters, which needs to be consistent with the configuration in the server of the ZenTao Desktop.
- The default size of the uploaded files is 20M, which can be adjusted according to actual needs.
- Whether to enable https: Default is not enabled. After enabling, you need to copy and paste the content and password of the https certificate into the input.
2. Download and Operate Desktop Server
1)After setting the Desktop parameters, there will be a button to download the Desktop Server.
Notes:
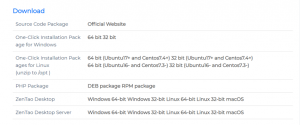
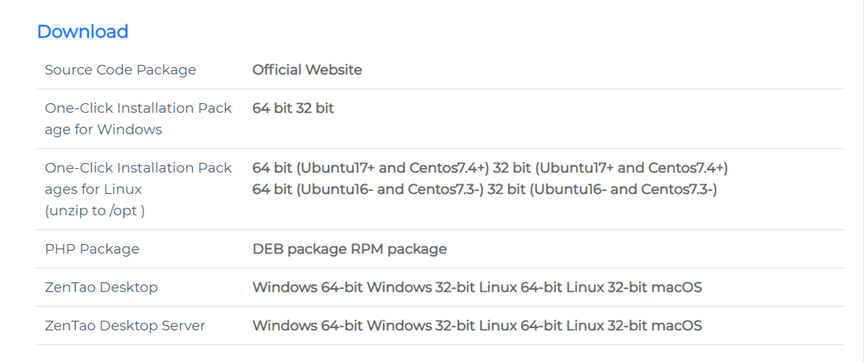
- Select the operating system, currently supports: Windows 32-bit, Windows 64-bit, Linux 32-bit, Linux 64-bit, macOS.
- If you have downloaded the XuanXuan Server before, you can download only the configuration file. The configuration file is xxd.conf. After the download is successful, just replace the file with the same name in the original XuanXuan Server. The server needs to be restarted after the replacement.
2)Configure the parameters of downloaded file in "Background" - "Desktop".
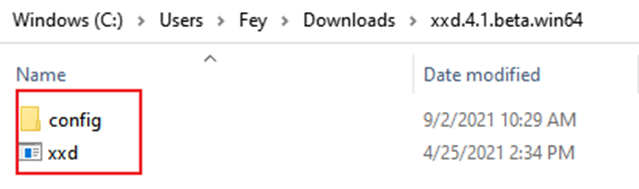
For example, in the config/xxd.conf file, you can modifier the size of the uploaded files.
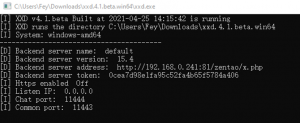
Double-click xxd.exe in the catalog to enable the Server Service.

Notes:
Server of the ZenTao Desktop (xxd)
- ZenTao and xxd are on the same server: When logging into the ZenTao Desktop, it is no problem to write the ZenTao address in the server address.
- ZenTao and xxd are not on the same server: When logging into ZenTao Desktop, the server address must write the address monitoring of xxd.
- The address monitoring of xxd is the innerip, but the outside network IP should be used to connect when connecting. When logging into ZenTao Desktop, the server address should be written with the outside network address.
- When xxd is installed on the cloud hosting extranet, be sure to open the monitoring ports 11444 and 11443 in the firewall for access.
Recommended placement for the Server (xxd) of the ZenTao Desktop
- Install ZenTao from source code: It is recommended to put xxd in the same catalog as ZenTao, and execute ./xxd to start the Server Service (xxd) of ZenTao Desktop.
- Install ZenTao with Windows installation package: You can download the configuration file xxd.conf from ZenTao "Background" - "Desktop" - "Parameter Settings", and then overwrite the xampp/xxd/config in the original directory. Click "Start Chat Service" in the ZenTao operation control panel to start the xxd service.
- Install ZenTao with Linux installation package: You can download the configuration file xxd.conf from ZenTao "Background" - "Desktop" - "Parameter Settings", and then overwrite /opt/zbox/run/xxd/ in the original directory config.
3. Install and log in ZenTao Desktop
The "Download ZenTao Desktop" entry will appear only after the super administrator has configured the Desktop Server Port in the background.
In the intranet environment, you need to manually put the installation package of the ZenTao Desktop into the directory specified by the server, so that other users can download the ZenTao Desktop through the "Desktop" portal.
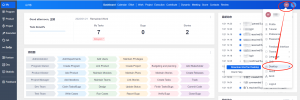
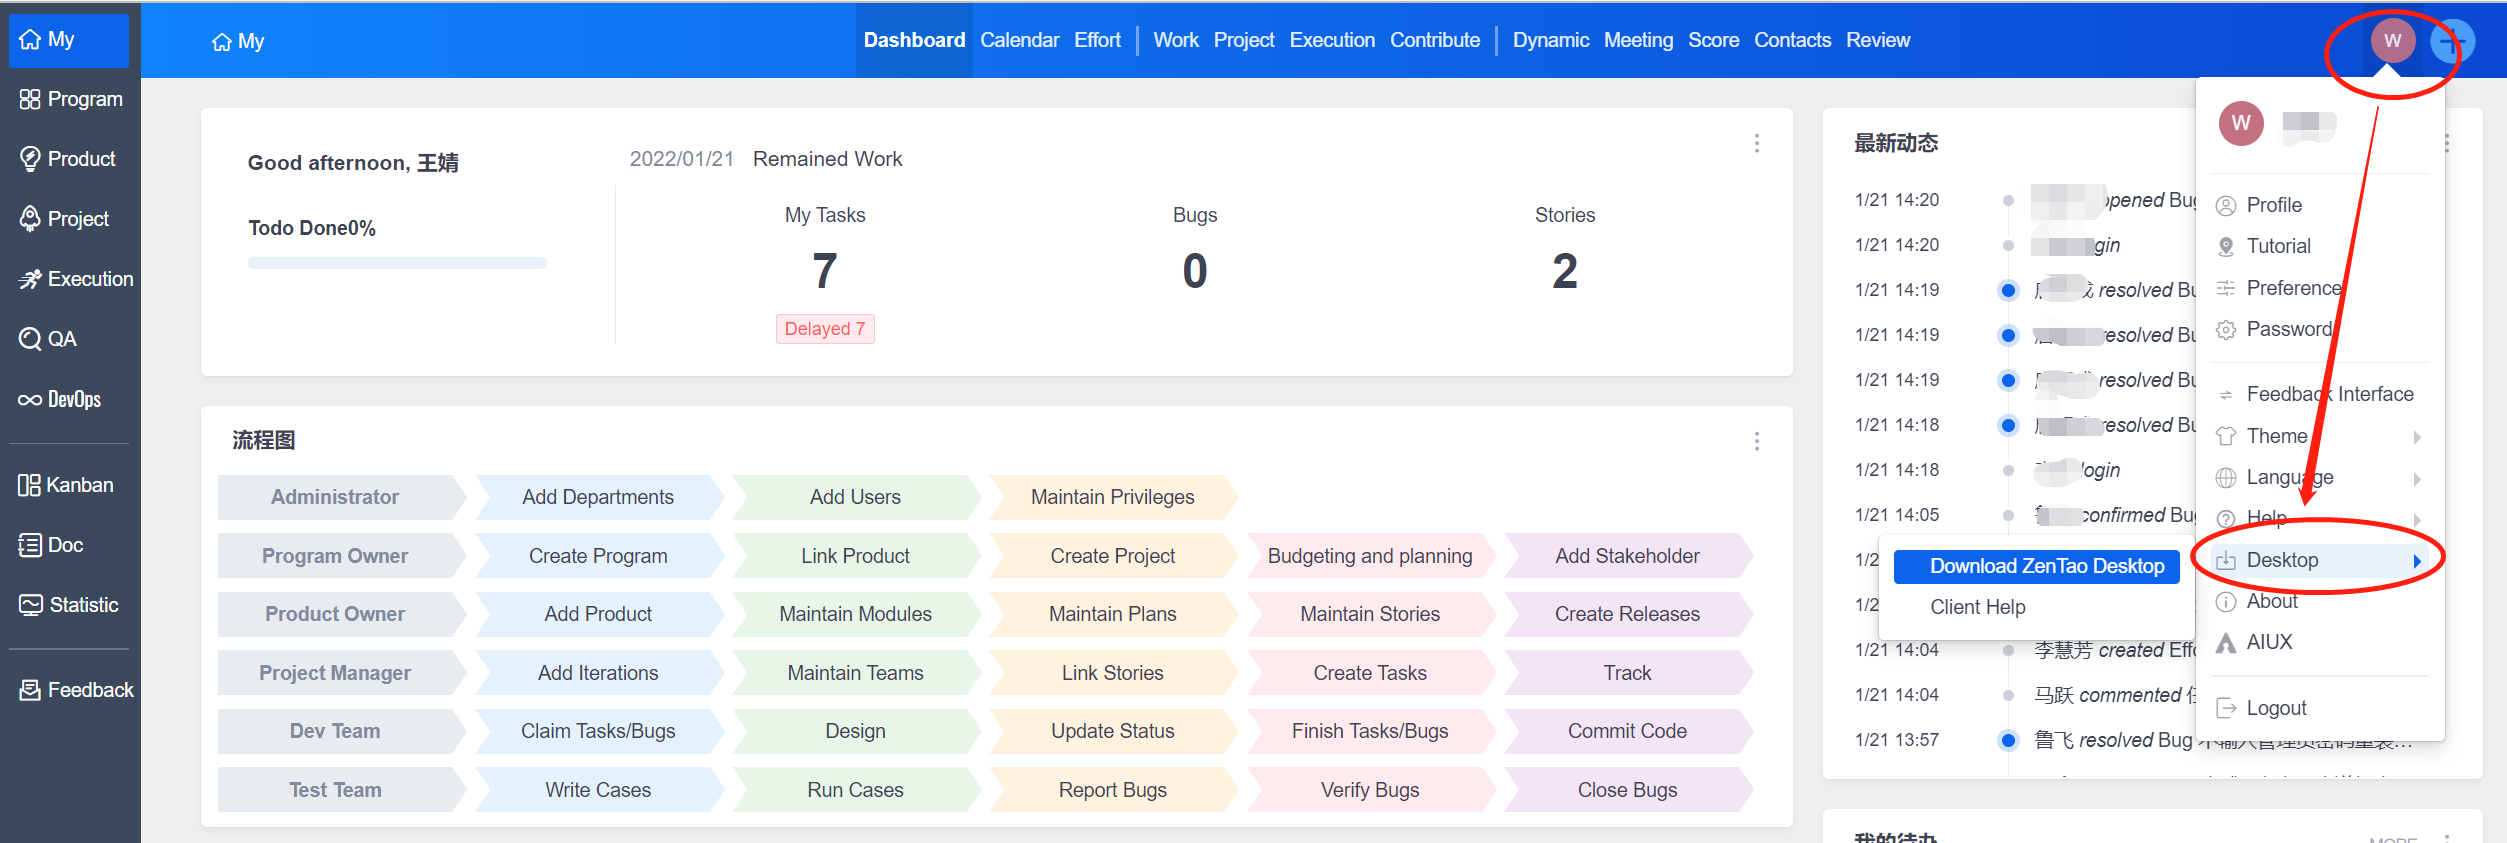
1)Click your profile picture-" Desktop"-"Download ZenTao Desktop" on the home page of ZenTao dashboard.
2)Select the operating system and click "Save" to enter the download page.
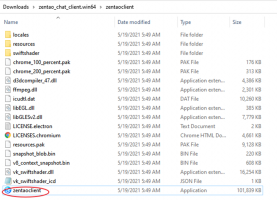
3)After the ZenTao Desktop is successfully downloaded, unzip it to get the zentao_chat_Desktop.win64 folder. Enter the directory of ZenTao Desktopand double-click zentaoclient.exe to start the Zentao Desktop.

4)Click on "Show Server Settings".
Notes:
- The server address is the same as the Desktop configuration file (xxd.conf).
- If the default port number in the xxd configuration file is not modified, the port does not need to be added after the server address. For example: if ZenTao is accessed http://192.168.1.110:8080 on the web page, fill in http://192.168.1.110 on the client’s server.
- For the account and password, fill in the username and password added in ZenTao.
Troubleshooting of Desktop Login Failures
1)Please check whether ZenTao, ZenTao Desktop, and ZenTao Desktop Server (xxd) are all running normally.
2)If ZenTao, ZenTao Desktop, and ZenTao Desktop Server (xxd) are running normally, you need to check the configuration of xxd.conf on the ZenTao Client Server. Whether the server’s name is written correctly, whether the password is the same, and whether the default is added.
3)The login page of ZenTao Desktop: Server operation failed, prompting 500 error. Please go to "Background" - "Desktop" – "Server Settings" to check whether the server configuration is turned on.
4)Download ZenTao Desktop in the intranet environment
In the intranet environment, you can download the ZenTao Desktop from the official website, and then put it in the specified server directory. Other users can download it directly by clicking profile picture - "Desktop" - "Download Zentao Desktop”.
Please download the installation package from the ZenTao official website.
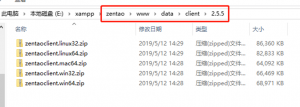
Check whether the directory www/data/client exists under the directory of ZenTao. If it does not exist, create this directory. Clarify the desktop version and create a directory under the client directory. If the client version number here is 2.5.5, then create a 2.5.5 directory under the client.
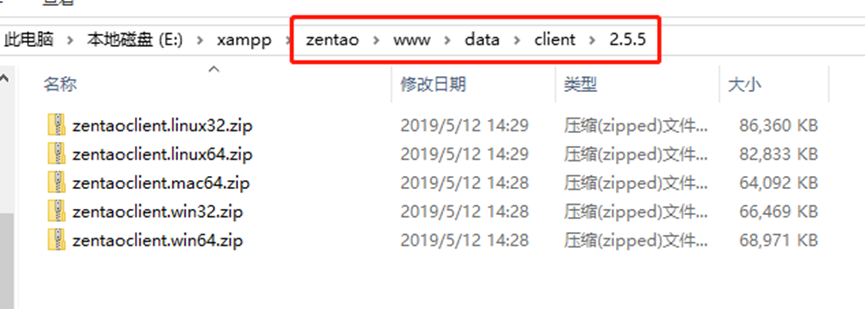
Put the downloaded Desktop Installation Package into the 2.5.5 directory just created, so that users can download the Client. It should be noted that the Linux server needs to pay attention to the settings of file permissions and groups.
4. Using the ZenTao Desktop
For the basic use of ZenTao Desktop, you can refer to the "Desktop Instructions" on the official website of XuanXuan.
After the integration of ZenTao and the Client.
- Add account and password sharing in ZenTao;
- ZenTao can be opened and browsed directly from the client;
- The operations in ZenTao can send message reminders through the client;
- The ability to send message alerts via the client for every operation in ZenTao;
- Client messages can be directly right-clicked to create bugs, requirements, tasks, documents, todos;
- The client card can display the details pages of bugs, requirements, tasks, documents, and use cases in ZenTao, and provide action buttons.
1)Login with your ZenTao account and password
- The account and password of ZenTao Desktop and ZenTao are common. Use your ZenTao username and password to log into the ZenTao Client.
- ZenTao administrators configure the client server, and can add users in ZenTao-"Background"-"Personnel"-"Users".
- Other users can also log in to the ZenTao Desktop as long as they download the Client and use the ZenTao account and password.

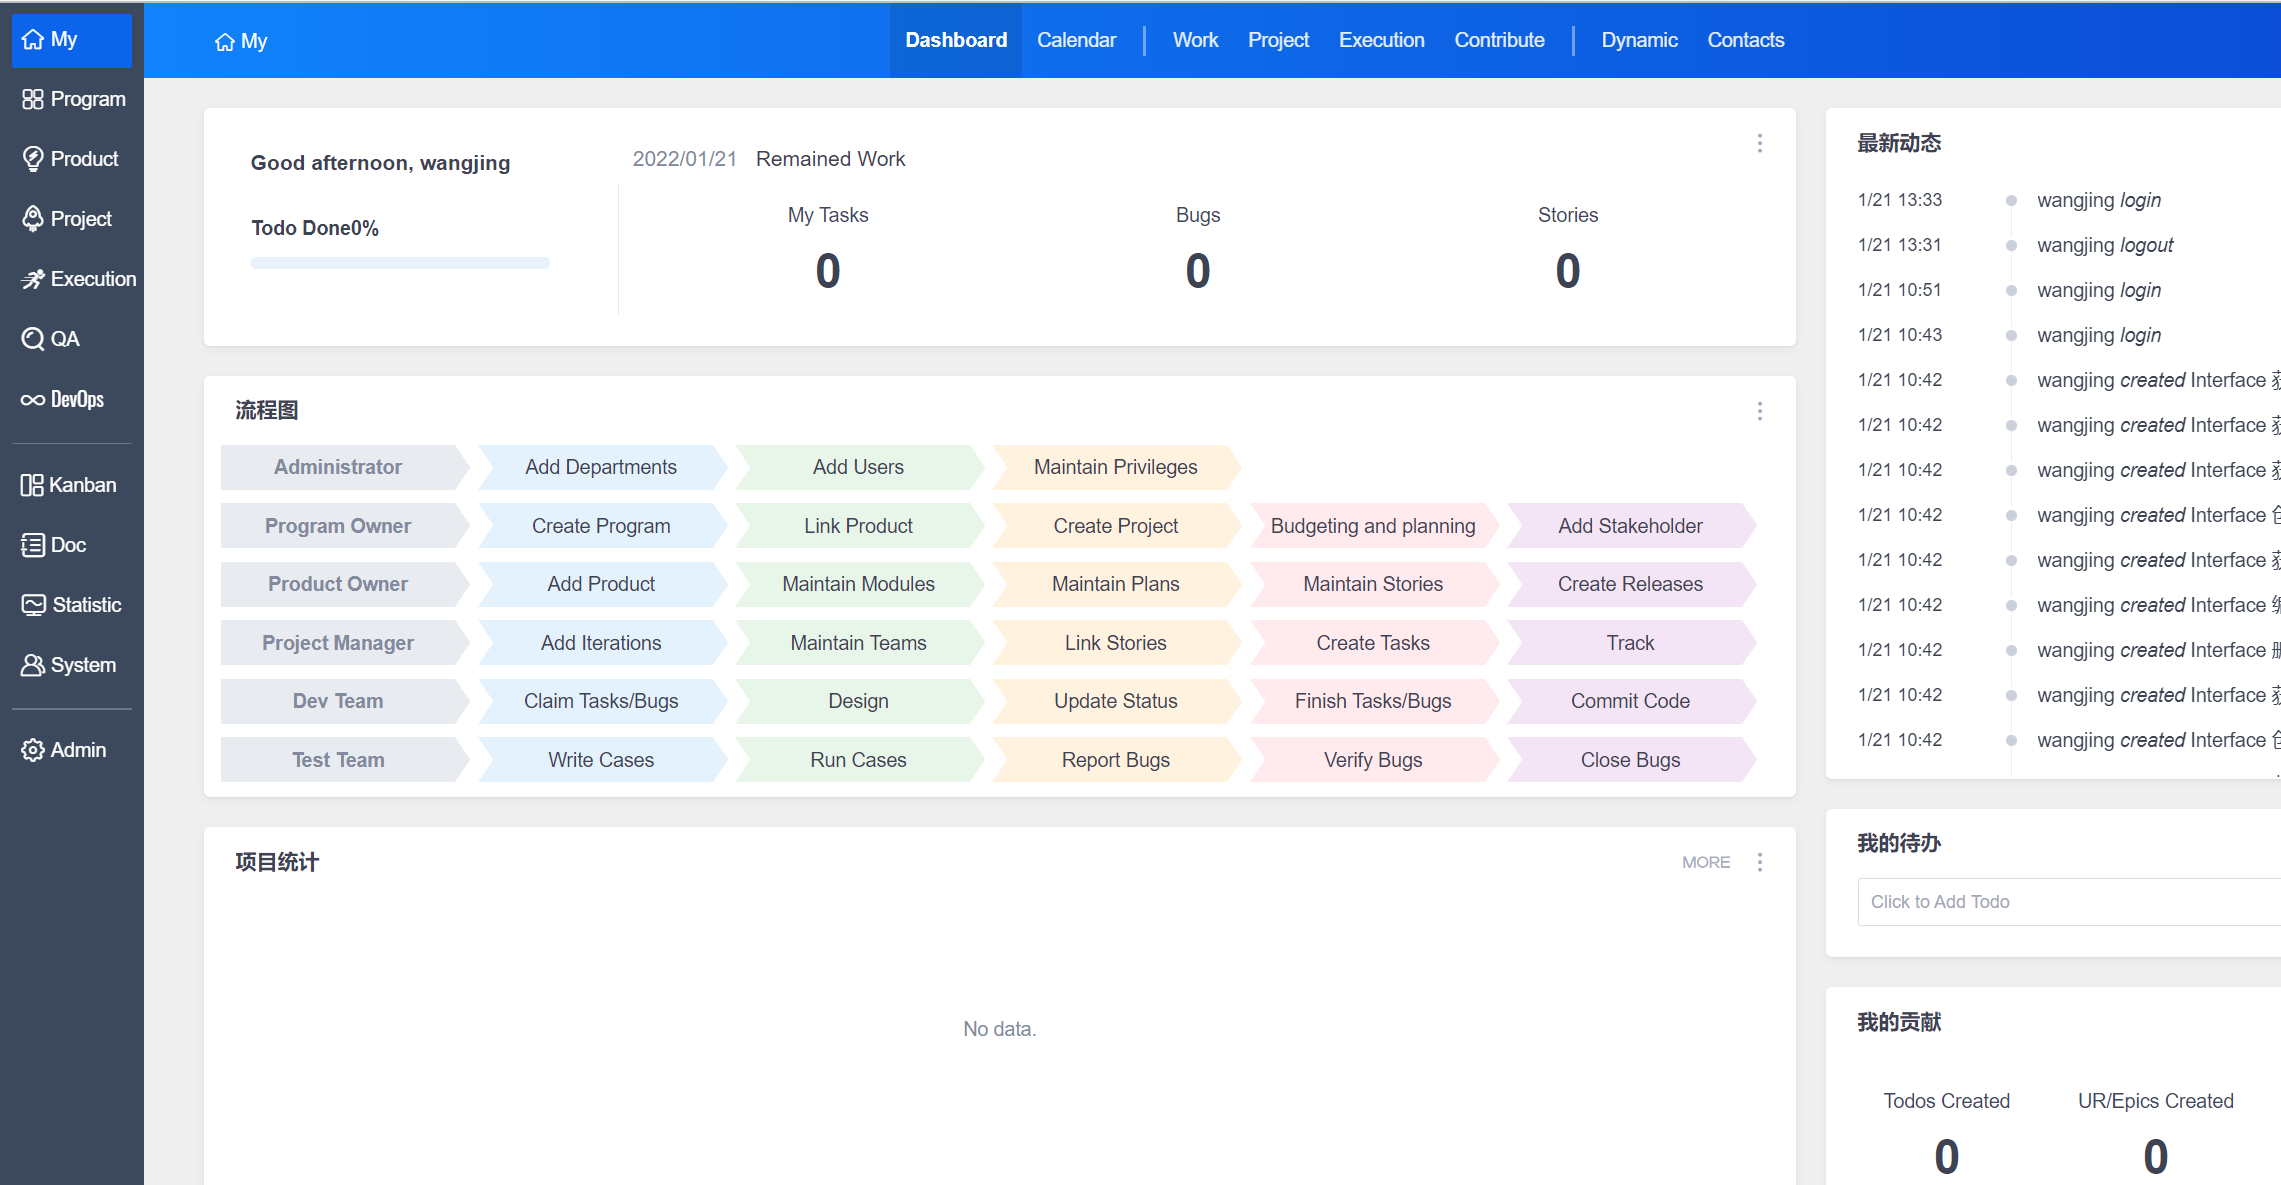
2)Open the ZenTao page with the Desktop
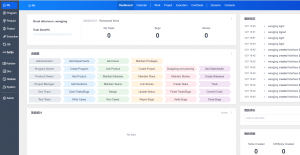
Click the ZenTao icon on the left side of the Client to view and browse the information in ZenTao.
3)Desktop Message Reminder
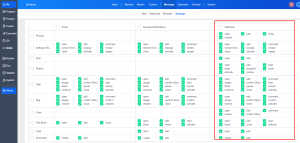
The administrators go to the background of ZenTao - "Message" - "Settings" - "Client" to check the operations that need to send a reminder. After that, the user performs these operations in ZenTao, and the assignee can receive alerts on the Desktop.

Take the assignment of task as an example, in the notification center of the assigner's ZenTao Desktop, the assignment message of the task will be received. The assignee can directly click the message notification to view the details of the task. When the Client is minimized in the bottom right corner, there will be sound notifications and message alerts.
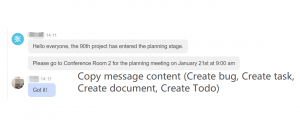
4)Right-click on the Message to create bugs, requirements, tasks, documents, and todos
Right-click on the Message of ZenTao Desktop to create ZenTao bugs, requirements, tasks, documents, and todos.
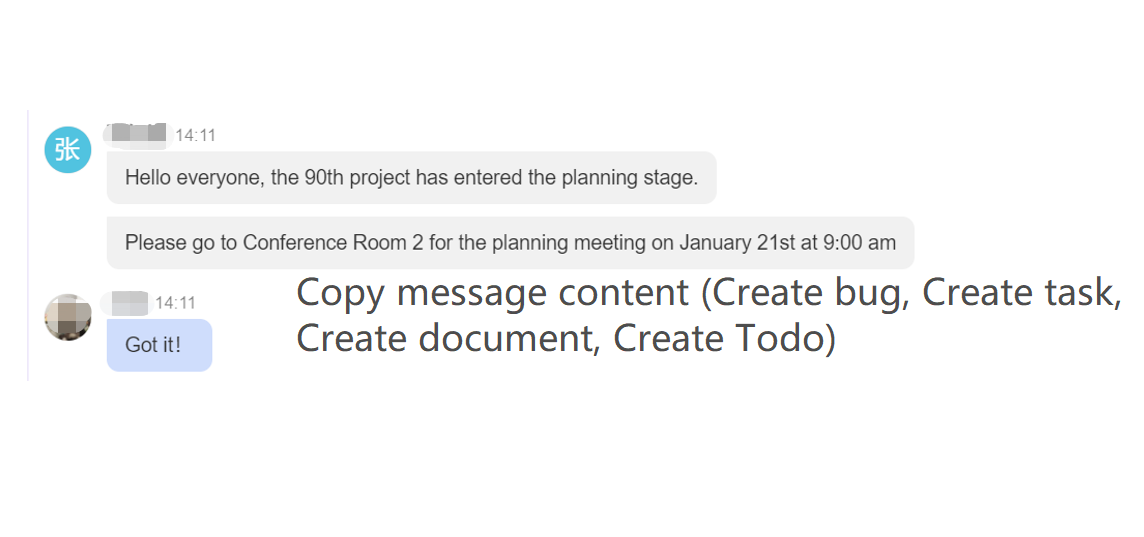
Note:
Administrators need to assign relevant permissions in ZenTao before users can create tasks in ZenTao client. If these permissions are not assigned, the Create button will not be displayed when the client message is right-clicked.
For example, click "Create To-do" to open ZenTao in the Client and add a todo.
5)Cards in the Desktop show the detail pages of requirements, tasks, bugs, use cases, and documents.
In the client chat dialog box, you can directly send the details' page addresses of requirements, tasks, bugs, use cases, and documents in ZenTao. After successful sending, it will be displayed as a card.
6)Client Group Chat
Click the "Conversation" button to select users to create chat groups, that will facilitate communication and collaboration between project team members.