Quick Start
1. Introduction
1.1 About Sanplex
1.2 Introduction PDF
1.3 Technical Support
1.4 Follow Us
2. Installation
2.1 Choose the Right Installation
2.2 Sanplex Cloud
2.3 One-click Installation for Windows
2.4 One-click Installation for Linux
2.5 Lampp Installation in Linux
2.6 Source Code Installation (for all systems)
2.7 Source Code Installation for macOS
2.8 XAMPP-VM Installation for macOS
2.9 XAMPP Installation for macOS
2.10 Install Sanplex in Docker
2.11 Install httpd, Mariadb, PHP 7.2 in Cent OS 8
2.12 Softaculous Service
2.13 Install Ioncube
3. Update
3.1 Update Sanplex
3.2 Update Via Source Code (For All Systems)
3.3 Update for One-Click Installation for Windows (xampp)
3.4 Update for One-Click Installation for Linux
4. Users and Groups
4.1 Company Structure
4.2 Add a User
4.3 Manage Users in batches
4.4 Groups and Privileges
5. Quick Start
5.1 Project and Task Management
5.2 Bug Tracking
5.3 Product Management
5.4 Todo Management
6. Basic Application
6.1 Basic Workflow
6.2 Agile and Scrum
6.3 Sanplex and Scrum
6.4 Sanplex Tutorial for Rookies
6.5 Create a Product
6.6 Create a Story
6.7 Create a Project
6.8 Confirm a Story
6.9 Decompose Stories into Tasks
6.10 Report a Bug
6.11 Manage Contacts
6.12 Customization
6.13 Import Excel, CSV Files
6.14 Document Management
6.15 Work Mode
6.16 Points
6.17 Required Field
6.18 Privileges
6.19 Annual Work Summary
7. Advanced Application
7.1. Workflow
7.1.1 Sanplex Workflow
7.2. Individual management
7.2.1 My Todo
7.2.2 My Task, Story and Bug
7.2.3 My Profile
7.3. Product Owner
7.3.1 Manage a Product
7.3.2 Manage a Product Line
7.3.3 Create and Review a Story
7.3.4 Change and Review a Story
7.3.5 Status and Phase
7.3.6 Story Writing
7.3.7 Product Module
7.3.8 Release Plan
7.3.9 Create a Release
7.3.10 Roadmap
7.3.11 Documents
7.3.12 Planning Meetings
7.3.13 Daily Scrum, Review and Retrospective Meetings
7.3.14 Story Reports
7.4. Scrum Master
7.4.1 Create a Sprint
7.4.2 Set a Team
7.4.3 Confirm a Story
7.4.4 Task Breakdown
7.4.5 Daily Standup Meetings
7.4.6 Check Project Progress via Burndown Chart
7.4.7 Check Project Progress via Lists
7.4.8 Review and Retrospective Meetings
7.4.9 Basic reports on tasks
7.5. Development Team
7.5.1 Project planning meeting and task breakdown
7.5.2 Claim tasks and update efforts
7.5.3 Kanban and Tree Diagram
7.5.4 Build
7.5.5 Test Request
7.5.6 Resolve a Bug
7.5.7 Documents
7.5.8 Confirm Bugs
7.6. Test Team
7.6.1 Bug Tracking
7.6.2 Report a Bug
7.6.3 Verify and Close a Bug
7.6.4 Activate a Bug
7.6.5 Find a Bug
7.6.6 Test Case
7.6.7 Create and Review Test Cases
7.6.8 Test Suites, Public Case Libs and Reports
7.6.9 Manage Test Requests
7.6.10 Run Cases and Report Bugs
7.6.11 Reports
8. Configuration
8.1. Maintain Sanplex
8.1.1 Initialize scripts
8.1.2 Data Backup
8.1.3 Recover the Deleted
8.1.4 Update Burndown Charts
8.1.5 Sanplex Remote Host
8.2. Deploy Sanplex
8.2.1 Guest Login
8.2.2 Email Notification
8.2.3 Set Super Admin
8.2.4 Static Access
8.2.5 Remove "zentao" from URL
8.2.6 Integrate SVN
8.2.7 Integrate Git
8.2.8 Integrate Webhook
8.2.9 Integrate Xuan.im
8.2.10 Integrate Zdoo
8.2.11 Integrate Third-Party Apps
8.2.12 Password-Free Login
8.2.13 Translation Add-on
8.2.14 Integrate Jenkins
8.2.15 Extension
8.2.16 Fix Weak Password
9. Customization
9.1 Introduction
9.2 Directory
9.3 Find Codes
9.4 Database Structure
9.5 Common Modules
9.6 Add Features to Menu
9.7 Set Privileges to Modules
9.8 Examples: modify language prompt
9.9 Examples: set priority when creating bugs
9.10 Extension Editor
9.11 Feature Limitation
9.12 Sanplex Packaging Standards 1.1
10. Misc
10.1 About Third-Party Code
10.2 Support Sanplex
10.3 Sanplex Service
10.4 Acknowledgement

Todo Management

2015-09-10 14:08:12
azalea
26489
Last edited by on 2020-03-16 21:19:08
Share links
Sanplex is designed to be a collaborative tool for Agile teams, but it is also useful to manage work for individuals. Back in 2009, Sanplex was used to manage projects for developing Sanplex itself. At that time, the DEV team is only one developer who was also the product owner. When talked about that situation with friends later, he said that Sanplex was a project management tool for just one person.


Now let’s have a look at how to manage individual work by Sanplex.

1. Create a todo

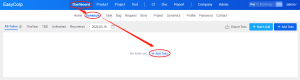
Go to Dashboard->Schedule and click Add Todo.


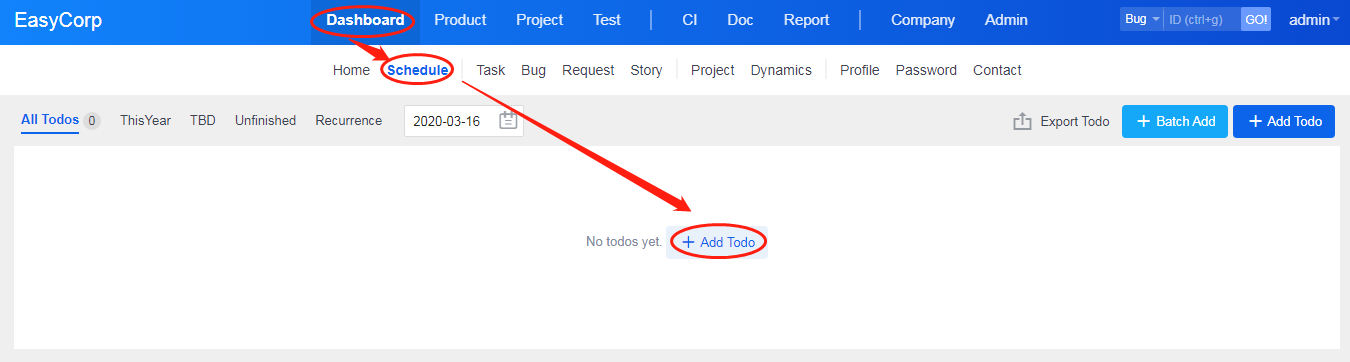
The page of creating a Todo will display. You can set the time frame or leave it empty for later. If you don't want others to see this Todo, check Private box.


Note

  • Choose "Custom" as the Type of the Todo, then you can enter any title for it.
  • Choose other types, you can choose the related item from the drop-down menu if you have been assigned to the bug/task/story.
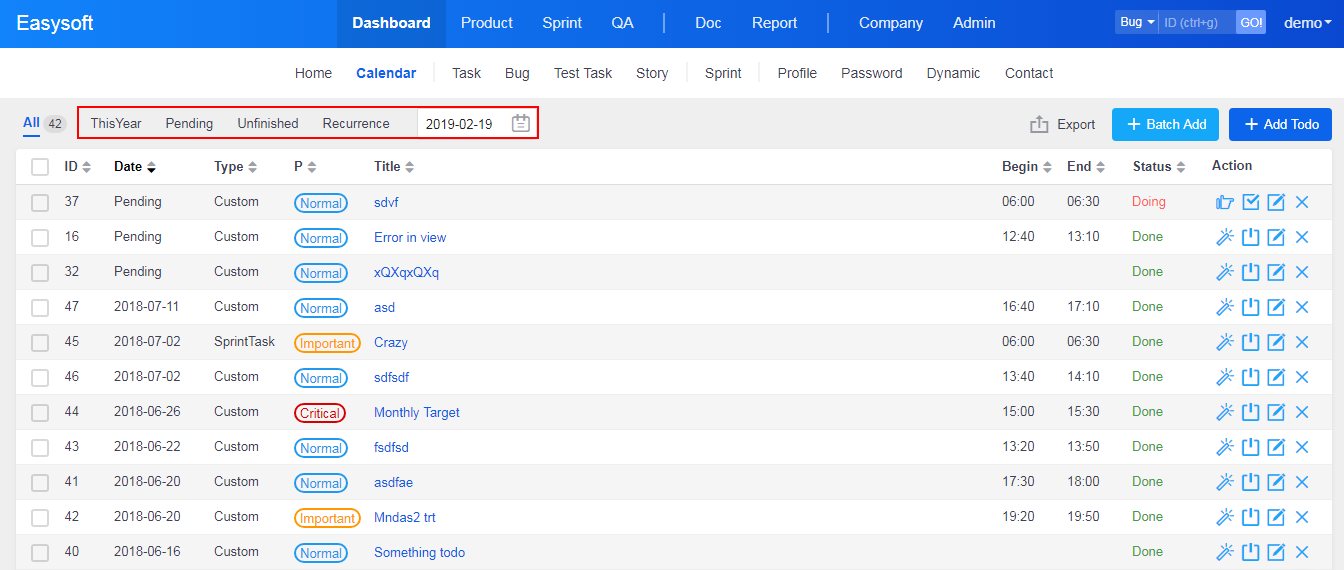
2. View Todos

Sanplex has a variety of labels as filters to search the Todo you want.


Actually, you can learn lessons from the concept of project management using Sanplex to manage your personal work. You can manage your private projects, such as buying a house, preparing for postgraduate exams, in Sanplex and track it.

Write a Comment
Comment will be posted after it is reviewed.