

Catalog
Feature Overview
ZAI provides large language model aggregation capabilities and foundational support for use cases such as intelligent conversations, knowledge bases, and intelligent agents. It includes a comprehensive monitoring system for viewing usage statistics and analytical reports in real time. It also provides multiple layers of security protection, including invocation-limiting policies and content security management.
Sanplex Agent relies on ZAI as its underlying service. This document describes how to install ZAI and covers its basic usage.
Note: ZAI 1.0 is a completely new major release. Upgrading from earlier beta versions is not supported; perform a fresh installation instead.
Installing with Docker
The ZAI service currently supports Docker deployment. Follow these steps:
Step 1: Install Docker
Make sure Docker is installed.
Step 2: Create the docker-compose.yml File
Create a directory for the ZAI service files, such as ~/zai/. Then create an empty docker-compose.yml file in that directory:
# Create a folder named zai (you may use another name) for ZAI service files
mkdir zai && cd zai
# Create an empty docker-compose.yml file
touch docker-compose.yml
Step 3: Configure docker-compose.yml
Open docker-compose.yml in any editor and add the following content:
services:
  # PostgreSQL database service; remove this service if you use a self-hosted database
  postgres:
    image: hub.zentao.net/third-party/pgvector/pgvector:pg16 # Official Docker image: pgvector/pgvector:16
    container_name: postgres
    ports:
      - "5432:5432"
    environment:
      - POSTGRES_USER=postgres      # Postgres administrator username
      - POSTGRES_PASSWORD=zai123456 # Postgres administrator password
      - POSTGRES_DB=zai_base         # Database name to initialize
    volumes:
      - postgres_data:/var/lib/postgresql/data
    healthcheck:
      test: ["CMD-SHELL", "pg_isready -U postgres"]
      interval: 5s
      timeout: 5s
      retries: 5
    networks:
      - zai-network
  # Database initialization service; remove this service if you use your own database service
  db-init:
    image: hub.zentao.net/third-party/postgres:16 # Official Docker image: postgres:16
    depends_on:
      postgres:
        condition: service_healthy
    environment:
      - POSTGRES_USER=postgres      # Must match the postgres service username
      - POSTGRES_PASSWORD=zai123456 # Must match the postgres service password
      - POSTGRES_DB=zai_base        # Database to connect to (enables pgvector)
    # Connect with psql, create pgvector, create the database if needed, and wait for the port
    command: >
      bash -lc "set -euo pipefail;
        PGPASSWORD=$$POSTGRES_PASSWORD psql -h postgres -U $$POSTGRES_USER -d postgres -v ON_ERROR_STOP=1 -tAc \"SELECT 1 FROM pg_database WHERE datname='$$POSTGRES_DB'\" | grep -q 1 || \
        PGPASSWORD=$$POSTGRES_PASSWORD psql -h postgres -U $$POSTGRES_USER -d postgres -v ON_ERROR_STOP=1 -c \"CREATE DATABASE \\\"$$POSTGRES_DB\\\"\"; \
        PGPASSWORD=$$POSTGRES_PASSWORD psql -h postgres -U $$POSTGRES_USER -d $$POSTGRES_DB -v ON_ERROR_STOP=1 -c 'CREATE EXTENSION IF NOT EXISTS vector;'"
    networks:
      - zai-network
    restart: "no"
  # ZAI service
  app:
    image: hub.zentao.net/app/zai:v1.3.6 # Official Docker image: qihangnet/zai:v1.3.6
    container_name: zai
    ports:
      - "8000:8000"
    environment:
      - LANG=zh_CN.UTF-8      # Default container language and encoding
      - LANGUAGE=zh_CN:zh     # Language priority order
      - DB_HOST=postgres      # Database host (Compose service name)
      - DB_PORT=5432          # Database port
      - DB_USER=postgres      # Database username
      - DB_PASSWORD=zai123456 # Database password
      - DB_NAME=zai_base      # Database name
    depends_on:
      postgres:
        condition: service_healthy
      db-init:
        condition: service_completed_successfully
    networks:
      - zai-network
volumes:
  postgres_data:
networks:
  zai-network:
    driver: bridge
Review the docker-compose.yml configuration, including its comments, and adjust the following settings as needed:
Confirm the ZAI Service Version
The currently recommended ZAI service version is 1.0.26. To use another version, replace v1.0.26 with the desired version number.
app:
    image: qihangnet/zai:v1.0.26 # Use version v1.0.26
    container_name: zai
Configure the ZAI Service Port
The ZAI service uses port 8000 by default. To use another host access port, change the host-side port at the beginning of the mapping (format: host:container):
 app:
    ports:
      - "8000:8000" # Host port 8000 -> container port 8000
Configure the Database
ZAI requires PostgreSQL to store data. If you use a self-hosted database, remove the postgres and db-init services. Configure the database connection in the app service with these environment variables:
app:
    environment:
      - DB_HOST=postgres      # Database host; use postgres for the Compose service
      - DB_PORT=5432          # Database port
      - DB_USER=postgres      # Database username
      - DB_PASSWORD=zai123456 # Database password
      - DB_NAME=zai_base      # Database name
Environment variables:
| Variable | Description | Default | Required |
|---|---|---|---|
DB_HOST |
Database host | localhost | ✓ |
DB_PORT |
Database port | 5432 | |
DB_USER |
Database username | postgres | |
DB_PASSWORD |
Database password | (empty) | ✓ |
DB_NAME |
Database name | dathor |
If you use the PostgreSQL service in Compose, configure the connection information in both postgres and db-init. In the postgres service, set:
 postgres:
    environment:
      - POSTGRES_USER=postgres      # Database username
      - POSTGRES_PASSWORD=zai123456 # Database password
      - POSTGRES_DB=zai_base        # Database name
Step 4: Install and Start the ZAI Service
The first installation pulls the images and may take several minutes, depending on network conditions:
# Pull the latest images
docker-compose pull
# Run in the background
docker-compose up -d
# View app process logs
docker-compose logs app
Note: With Docker Compose v2, replace docker-compose with docker compose.
Step 5: Access and Initialize the ZAI Service
After the service starts, open http://localhost:8000 in a browser.
On the first visit, create an administrator account by following the prompts.
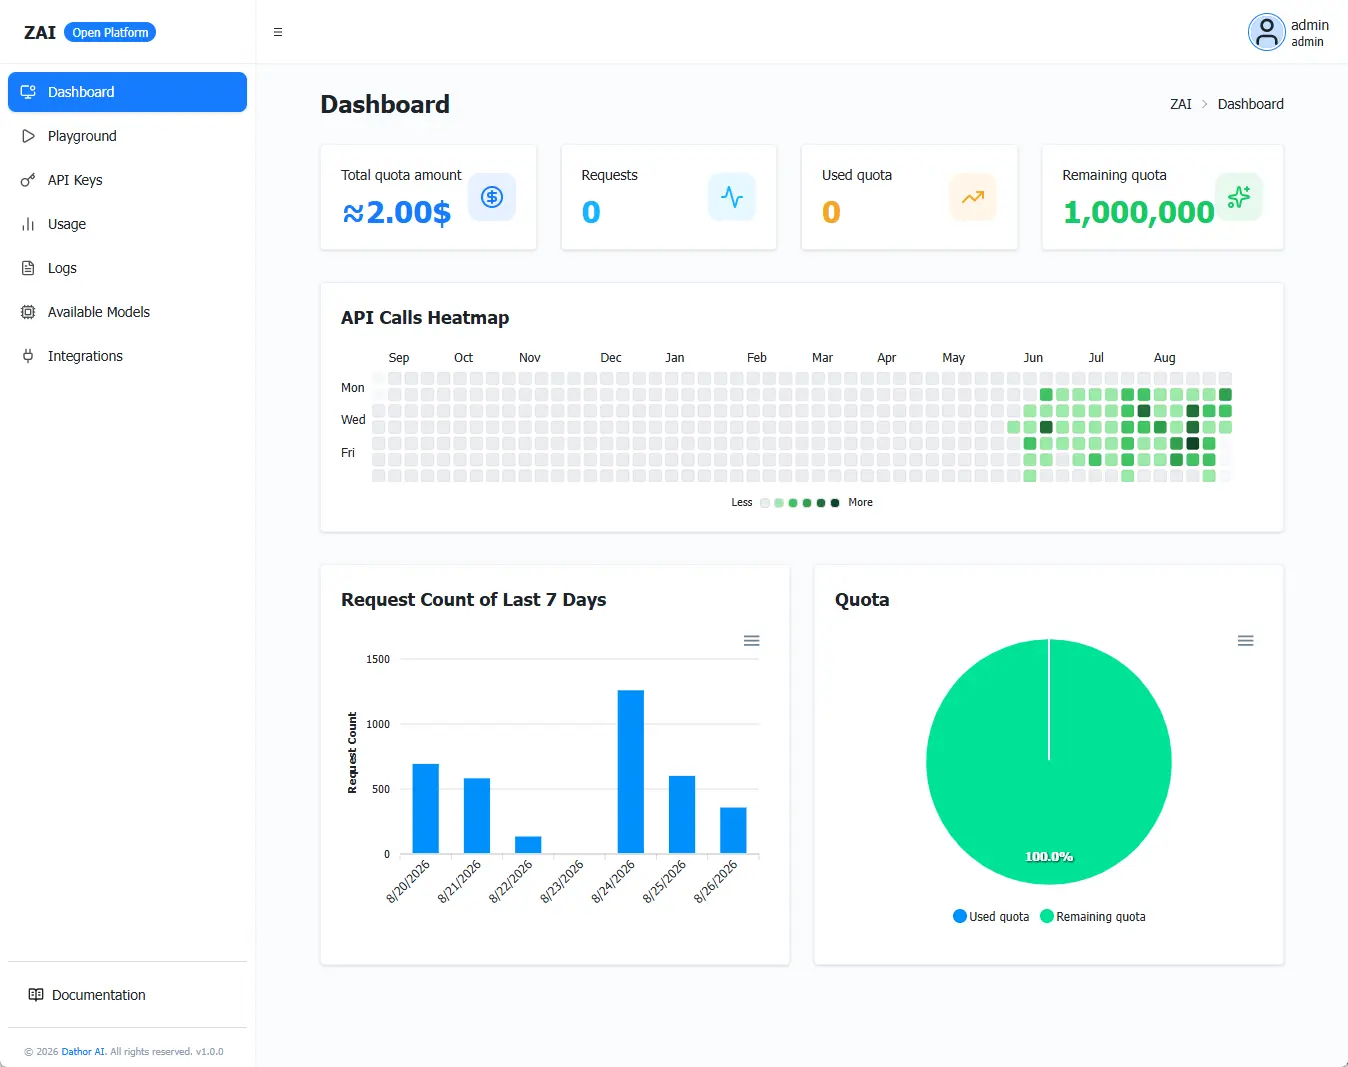
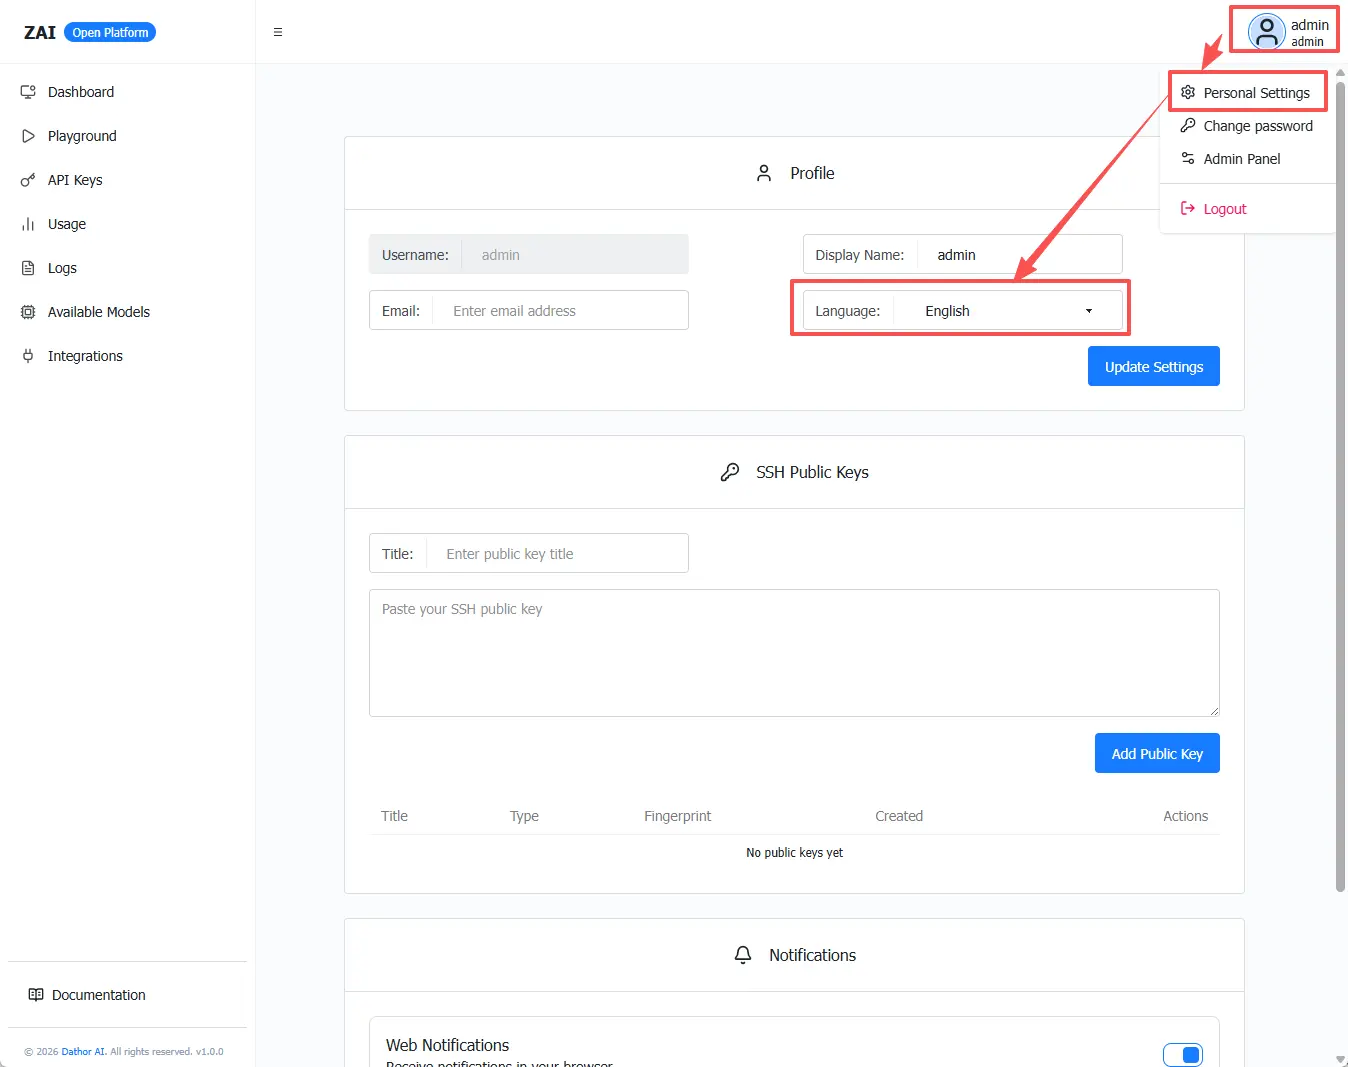
You can then use this account to sign in.
Upgrading ZAI
When a new version is released, enter the ZAI service directory and follow these steps:
Step 1: Stop the Existing Service
# Stop the existing service
docker-compose down
To remove the old containers and data, add the -v option:
# Stop and remove old containers. Use with caution.
docker-compose down -v
Step 2: Update docker-compose.yml
Before upgrading, edit docker-compose.yml and replace the image version with the new version.
 app:
    image: qihangnet/zai:v1.0.26 # Use version v1.0.26
Step 3: Pull the Latest Images and Start
# Pull the latest images
docker-compose pull
# Run in the background
docker-compose up -d
# View app process logs
docker-compose logs app 
