Catalog
Feature Introduction
The Object Relations feature lets users create two-way relations manually between 15 kinds of project objects (tasks, stories, bugs, test cases, documents, and more), and presents these logical connections in a visual relation graph. By building complete relation chains between objects, it helps teams break down information silos and keeps project information complete and traceable.
Use Cases
Assessing the impact of story changes: When changing a story, a product owner can review the progress of the tasks linked to it and the execution results of the linked test cases, so that the real impact of the change can be assessed in full.
Verifying release content: When confirming the scope of a release, a release manager can track whether the stories to be released have completed their tasks and passed testing, and whether the related bugs have been handled and closed, so that the release content fully matches expectations.
Responding to customer requests: When handling a customer request, the pre-sales team can quickly find the stories, bugs, and other objects converted from feedback, understand the progress and solutions, and synchronize information in a more timely way.
Tracing knowledge base documents: When looking up historical documents, new team members can follow the relation chain to the linked stories, tasks, design documents, and the handling and lessons learned for risks and opportunities, fully tracing how a document evolved and moving work forward quickly.
I. How to Use Relations in Sanplex
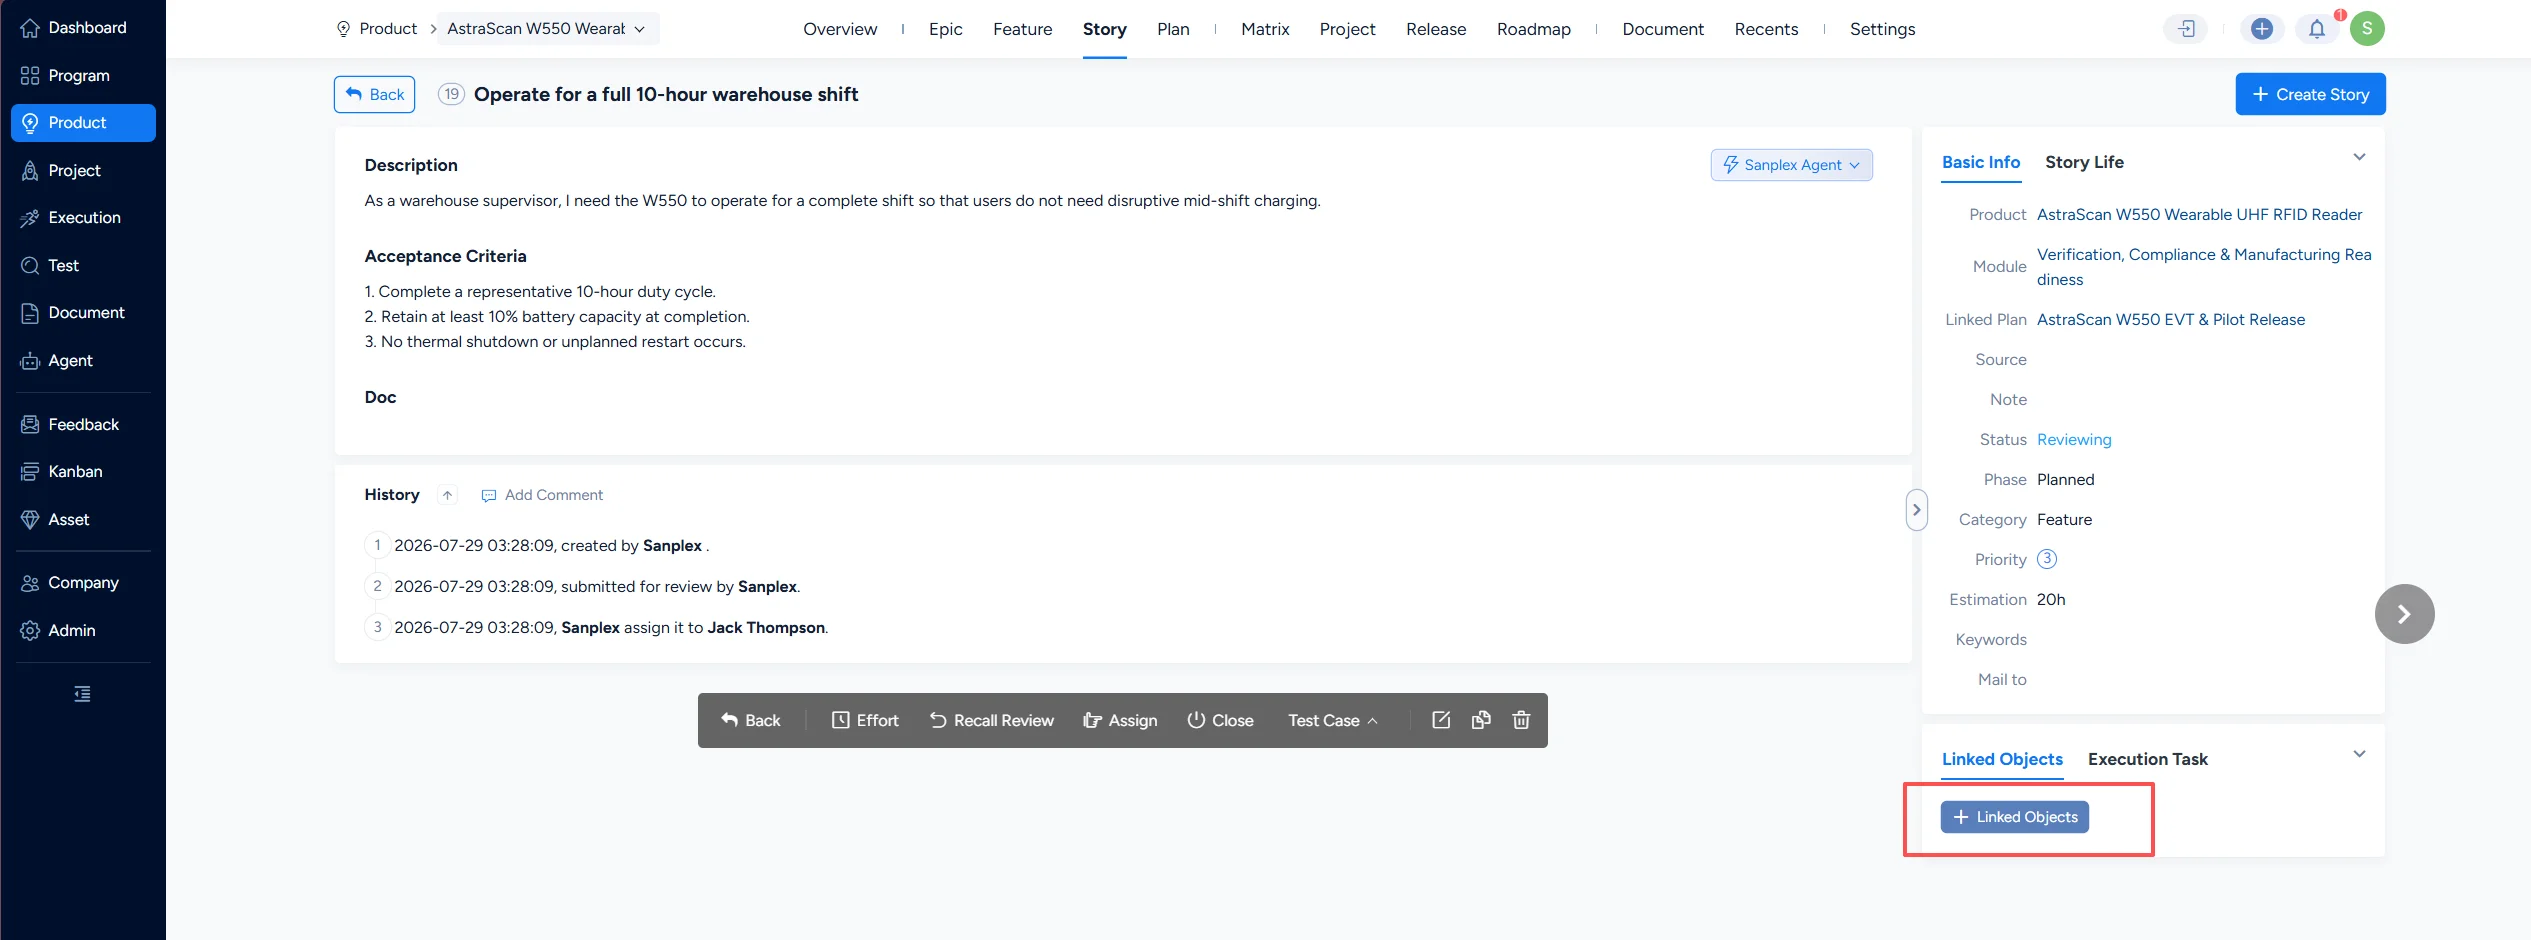
On the detail page of an object in Sanplex, a Linked Objects block is displayed in the lower-right corner. Click it to link objects.
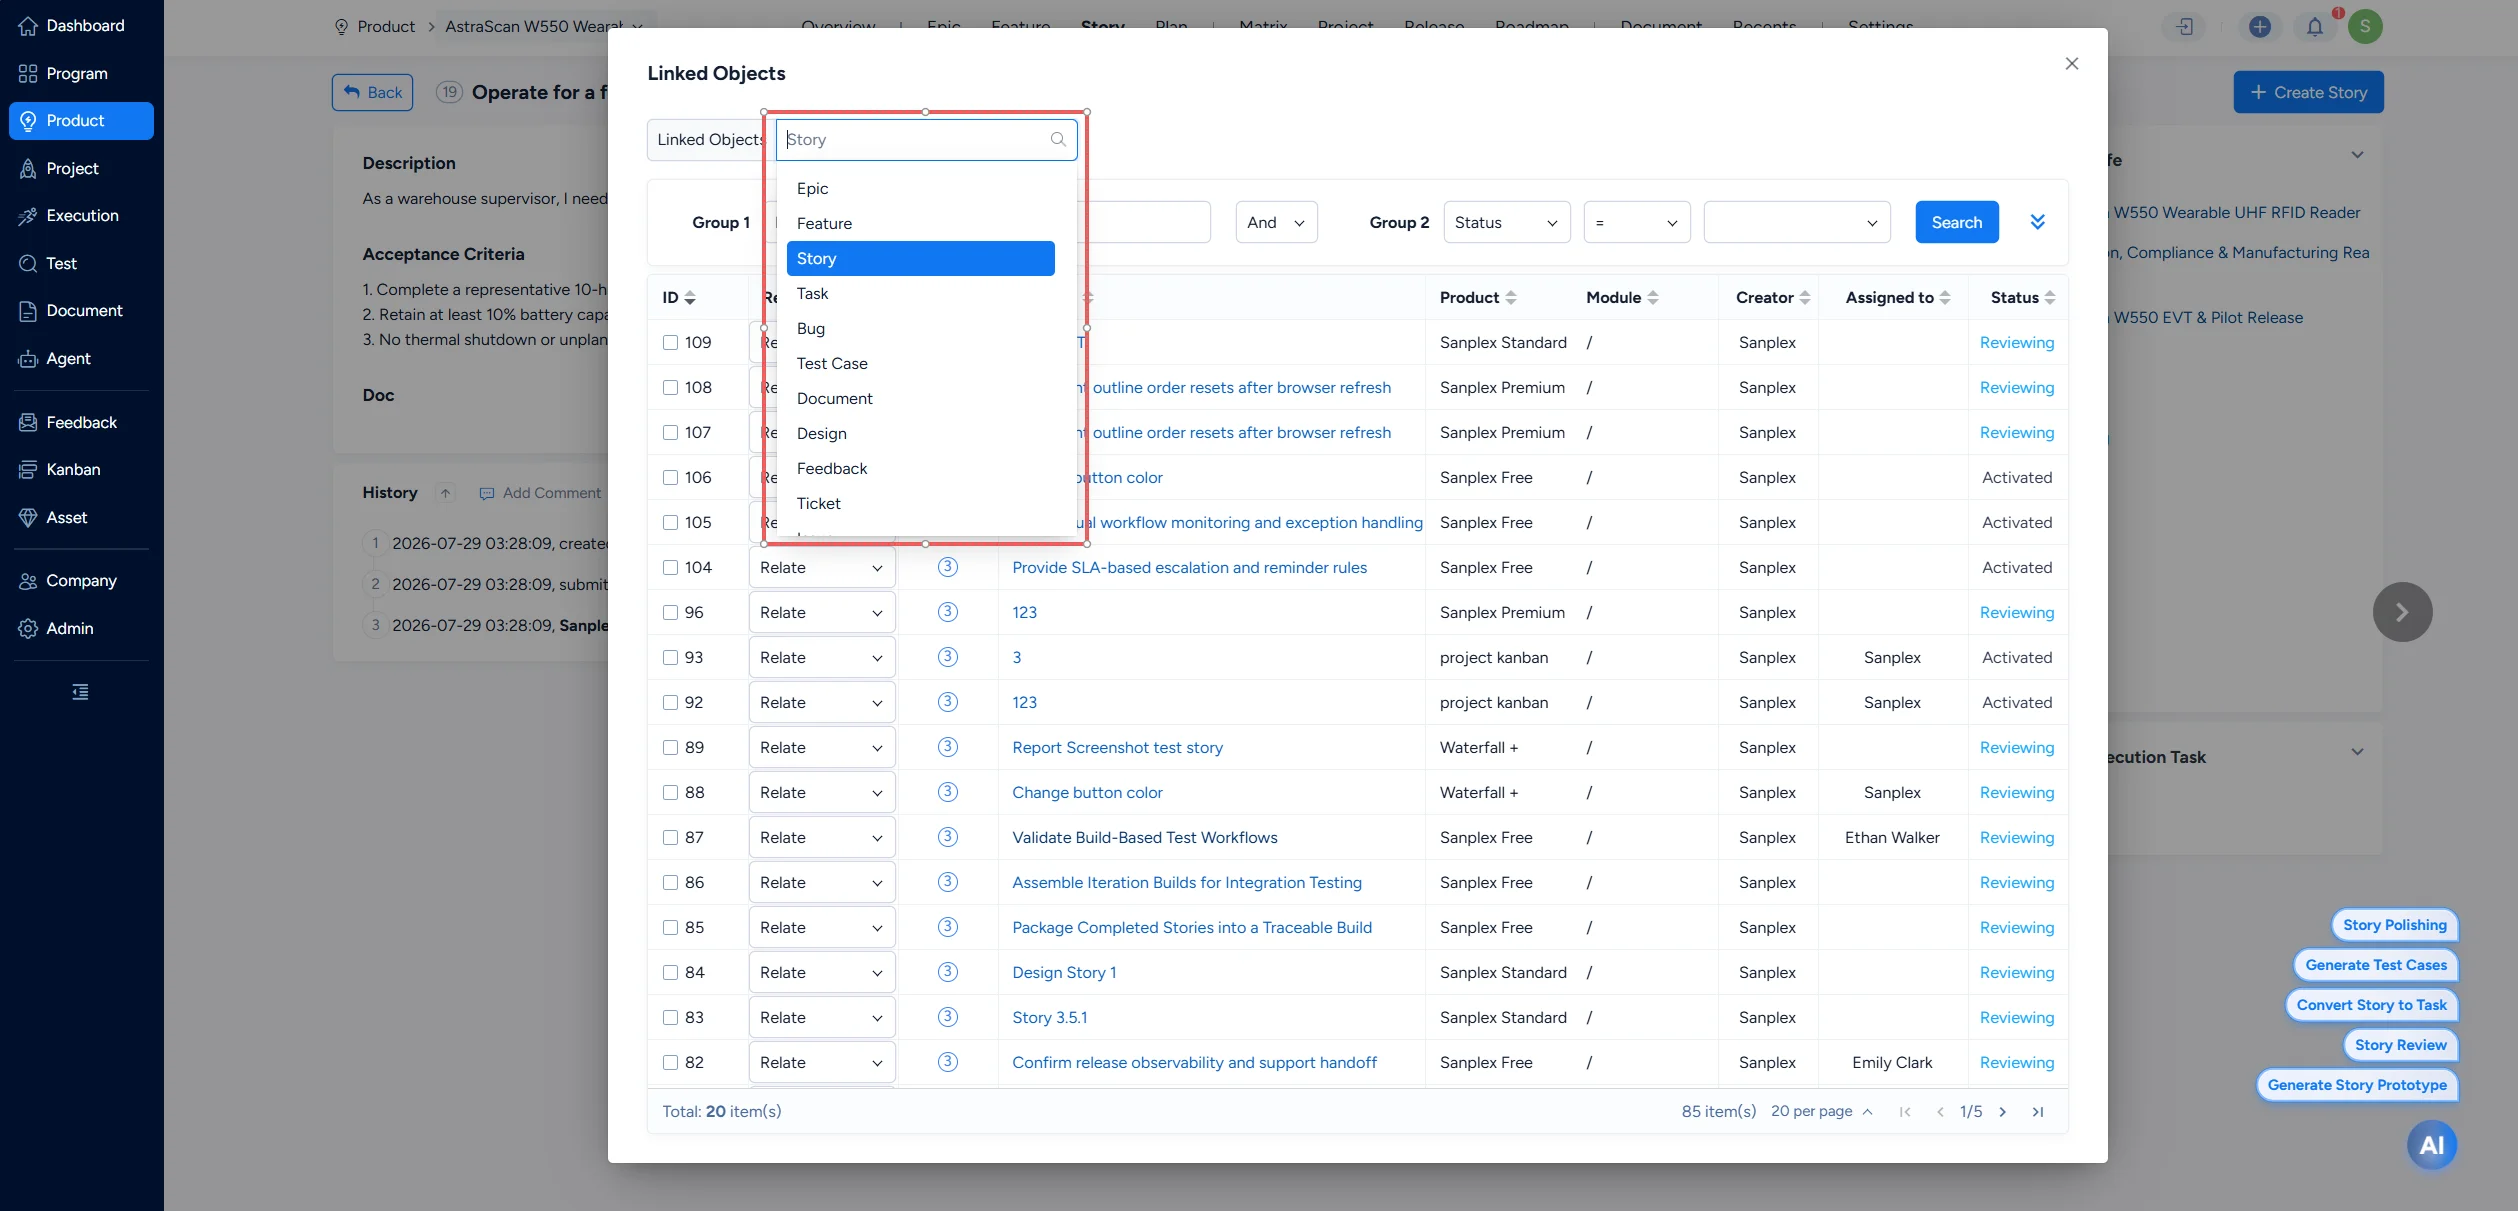
The objects include: Epic, Feature, Story, Task, Bug, Test Case, Document, Design, Issue, Risk, Opportunity, Commit, Feedback, Ticket, and objects configured in workflows.
1. Creating Relations Between Objects
Click Linked Objects, and a dialog shows the objects that can be linked. When you link objects from a story, stories are listed by default.
By default, the linkable objects include:
- Objects that the current user has permission to access and that have not been deleted. If a product, project, or execution has been deleted, the stories, tasks, bugs, test cases, issues, risks, and opportunities under it are not listed.
- If an object that the current user has no permission to view is shown in the relations, no hyperlink is displayed for it.
- An object can be linked more than once, under different relations. When the same object is linked under the same relation, duplicates are removed and only one entry is displayed.
Use the Linked Objects dropdown to switch to another type of object to link.
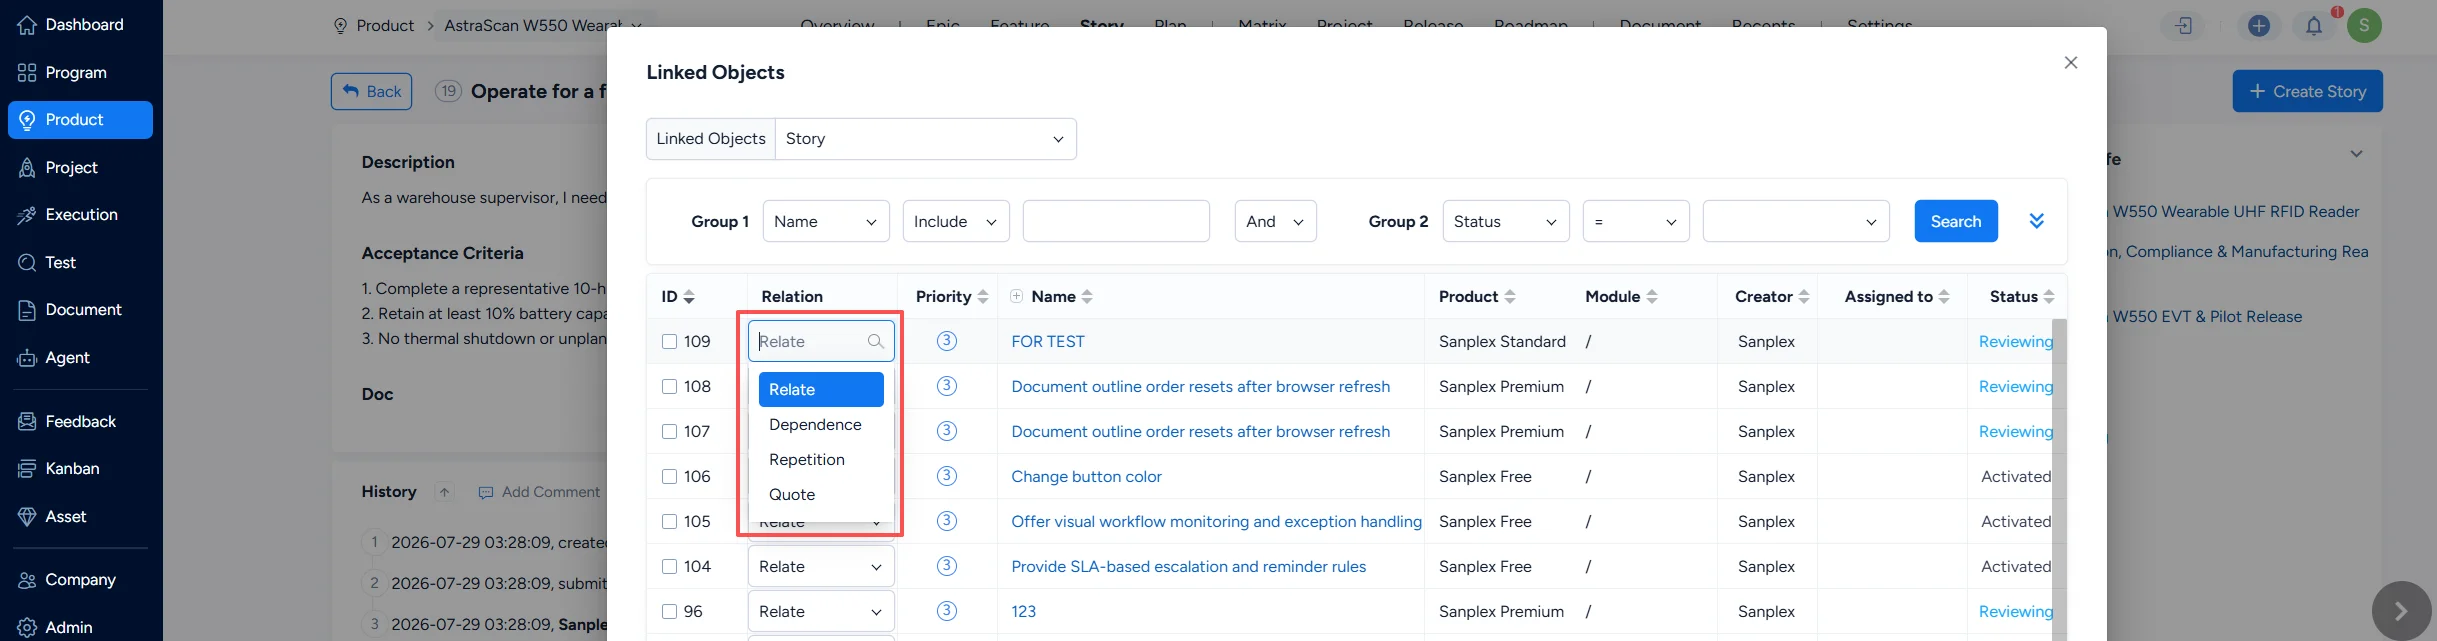
Select the objects to link, choose the relation, and click Save. The relation can be any of those configured in the Admin; choose the one that fits your actual work.
Objects under the same relation are de-duplicated and displayed together. Relations are displayed on both objects, so they can be viewed from either detail page.
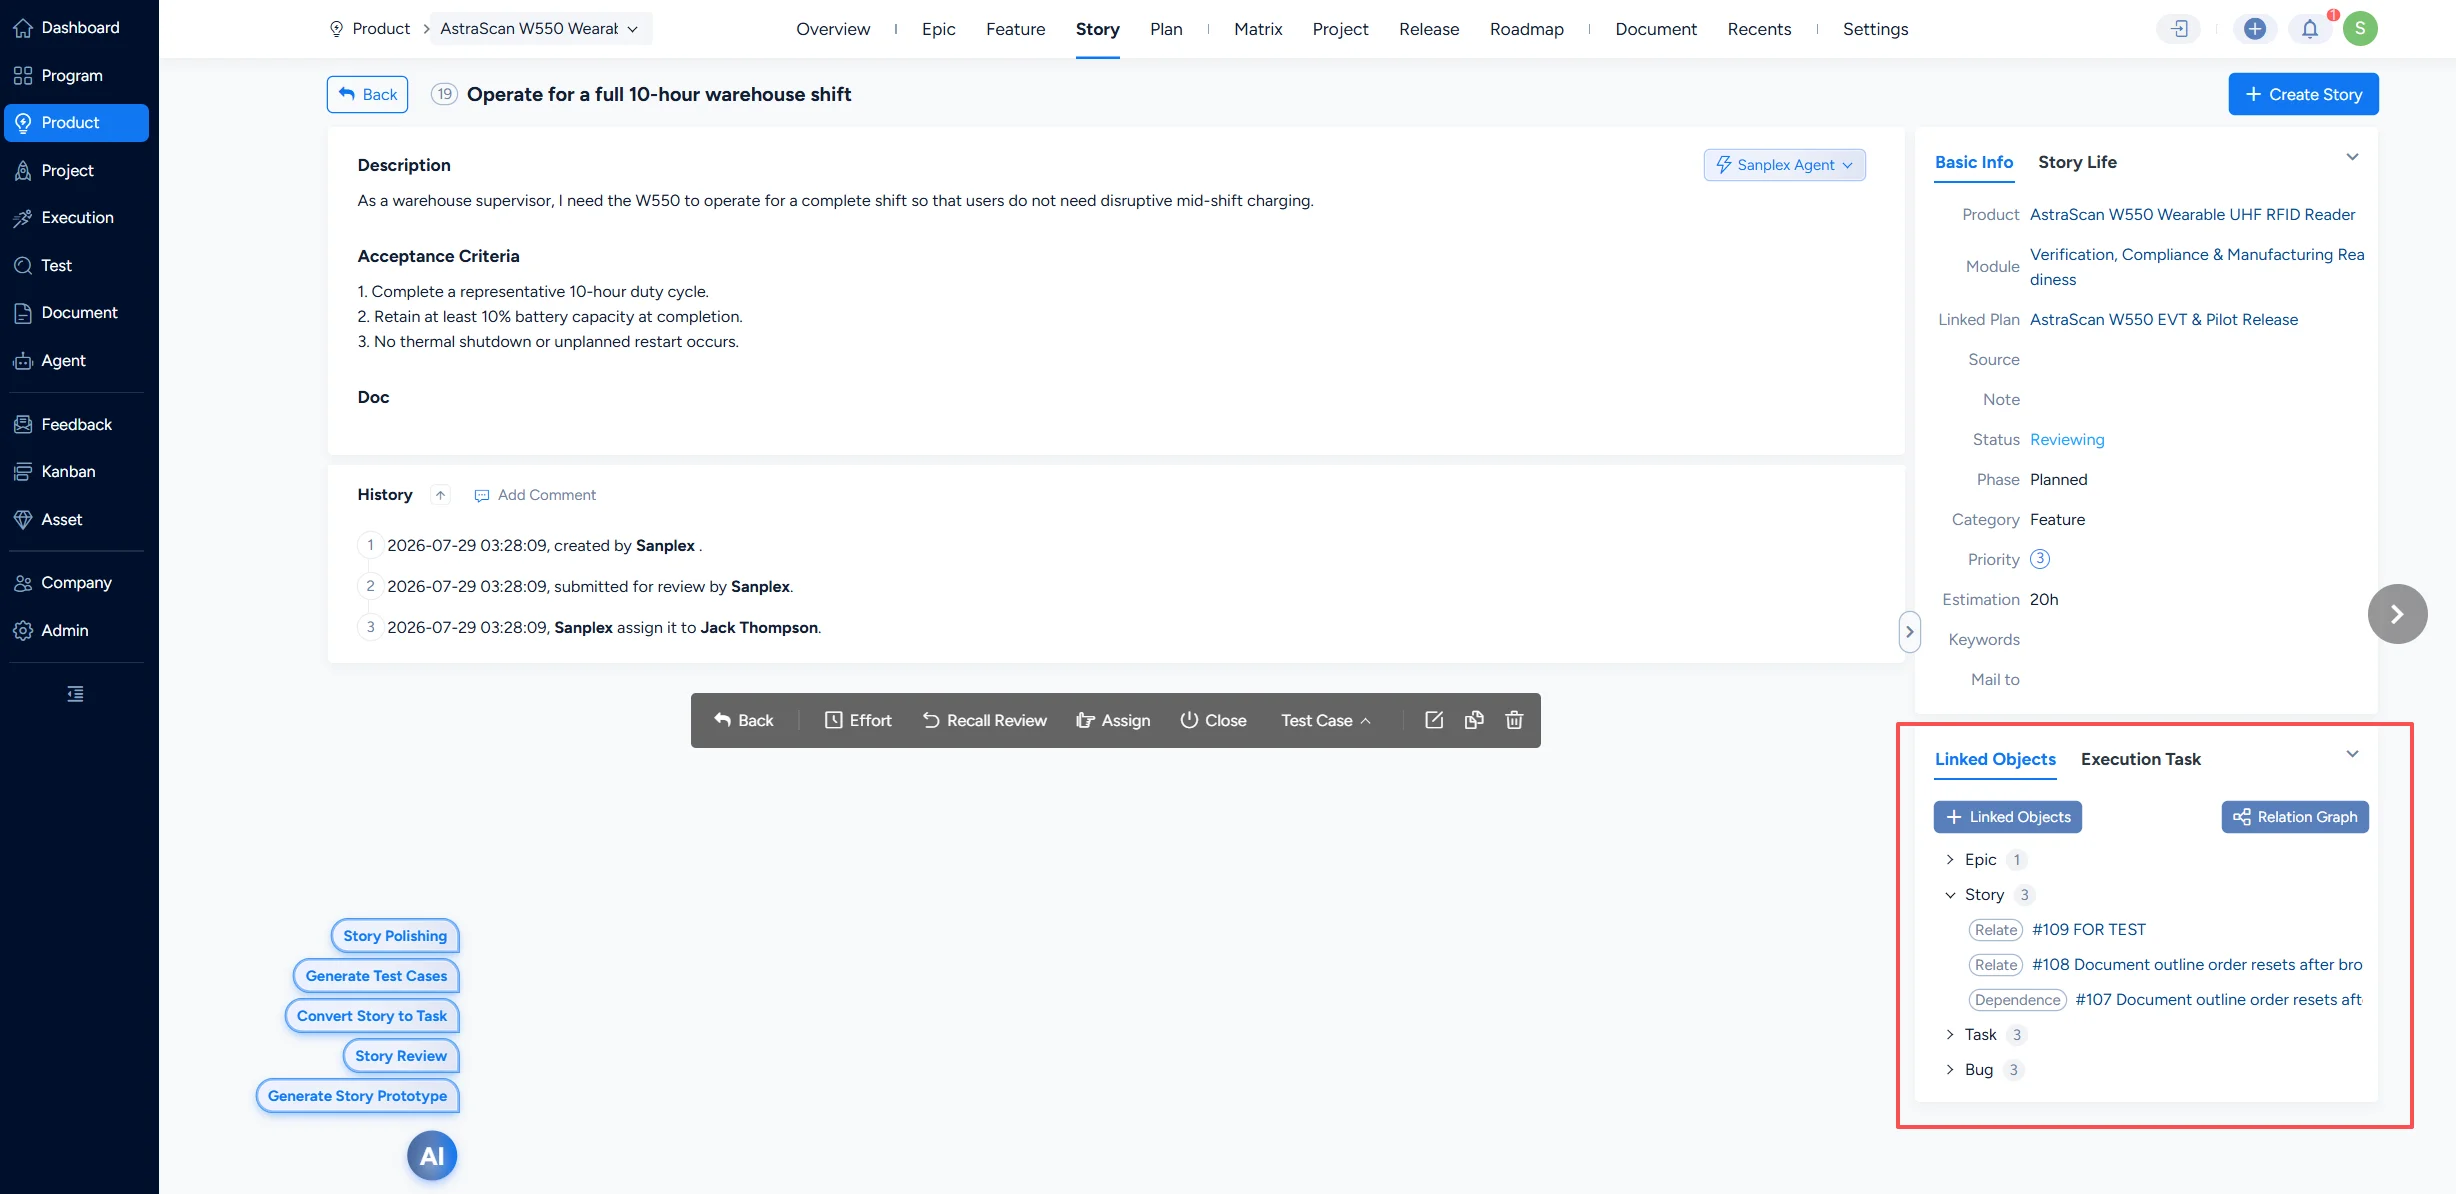
2. Displaying Linked Objects
Linked objects are displayed by relation.
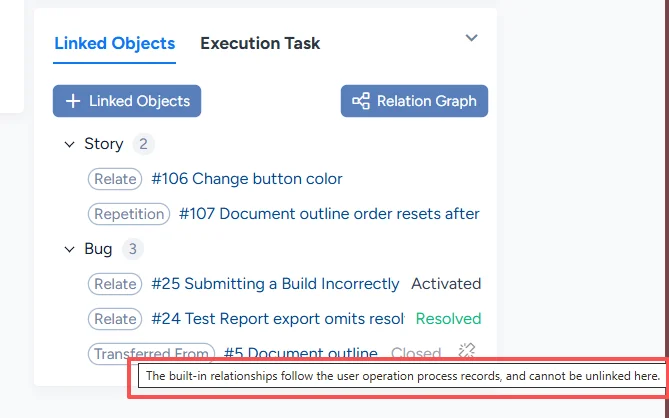
Besides manually created relations, relations generated by system workflow transitions are also displayed here, and the built-in ones cannot be cancelled. The built-in relations are:
- Twin / Twin: the basic information of the two objects stays in sync.
- Converted to / Converted from: an object converted from the current object, such as converting feedback into a story, a bug, or a task.
- Generated / Generated from: an object generated from the current object, such as creating a task, a test case, or a bug from a story.
- Subdivided into / Subdivided from: the current object is the child or the parent of another object.
- Implemented by / Implemented: the current object is implemented by another object; this is mainly related to code commits, for example a story or a bug implemented by a commit.
- Linked to: an object linked to a build, a release, or a merge request.
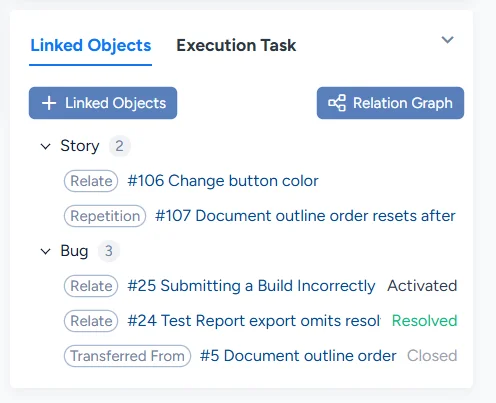
Click a hyperlink to view the information of the linked object.
Objects you have permission to view are displayed as hyperlinks; objects you have no permission to view are not displayed as hyperlinks.
3. Relation Graph
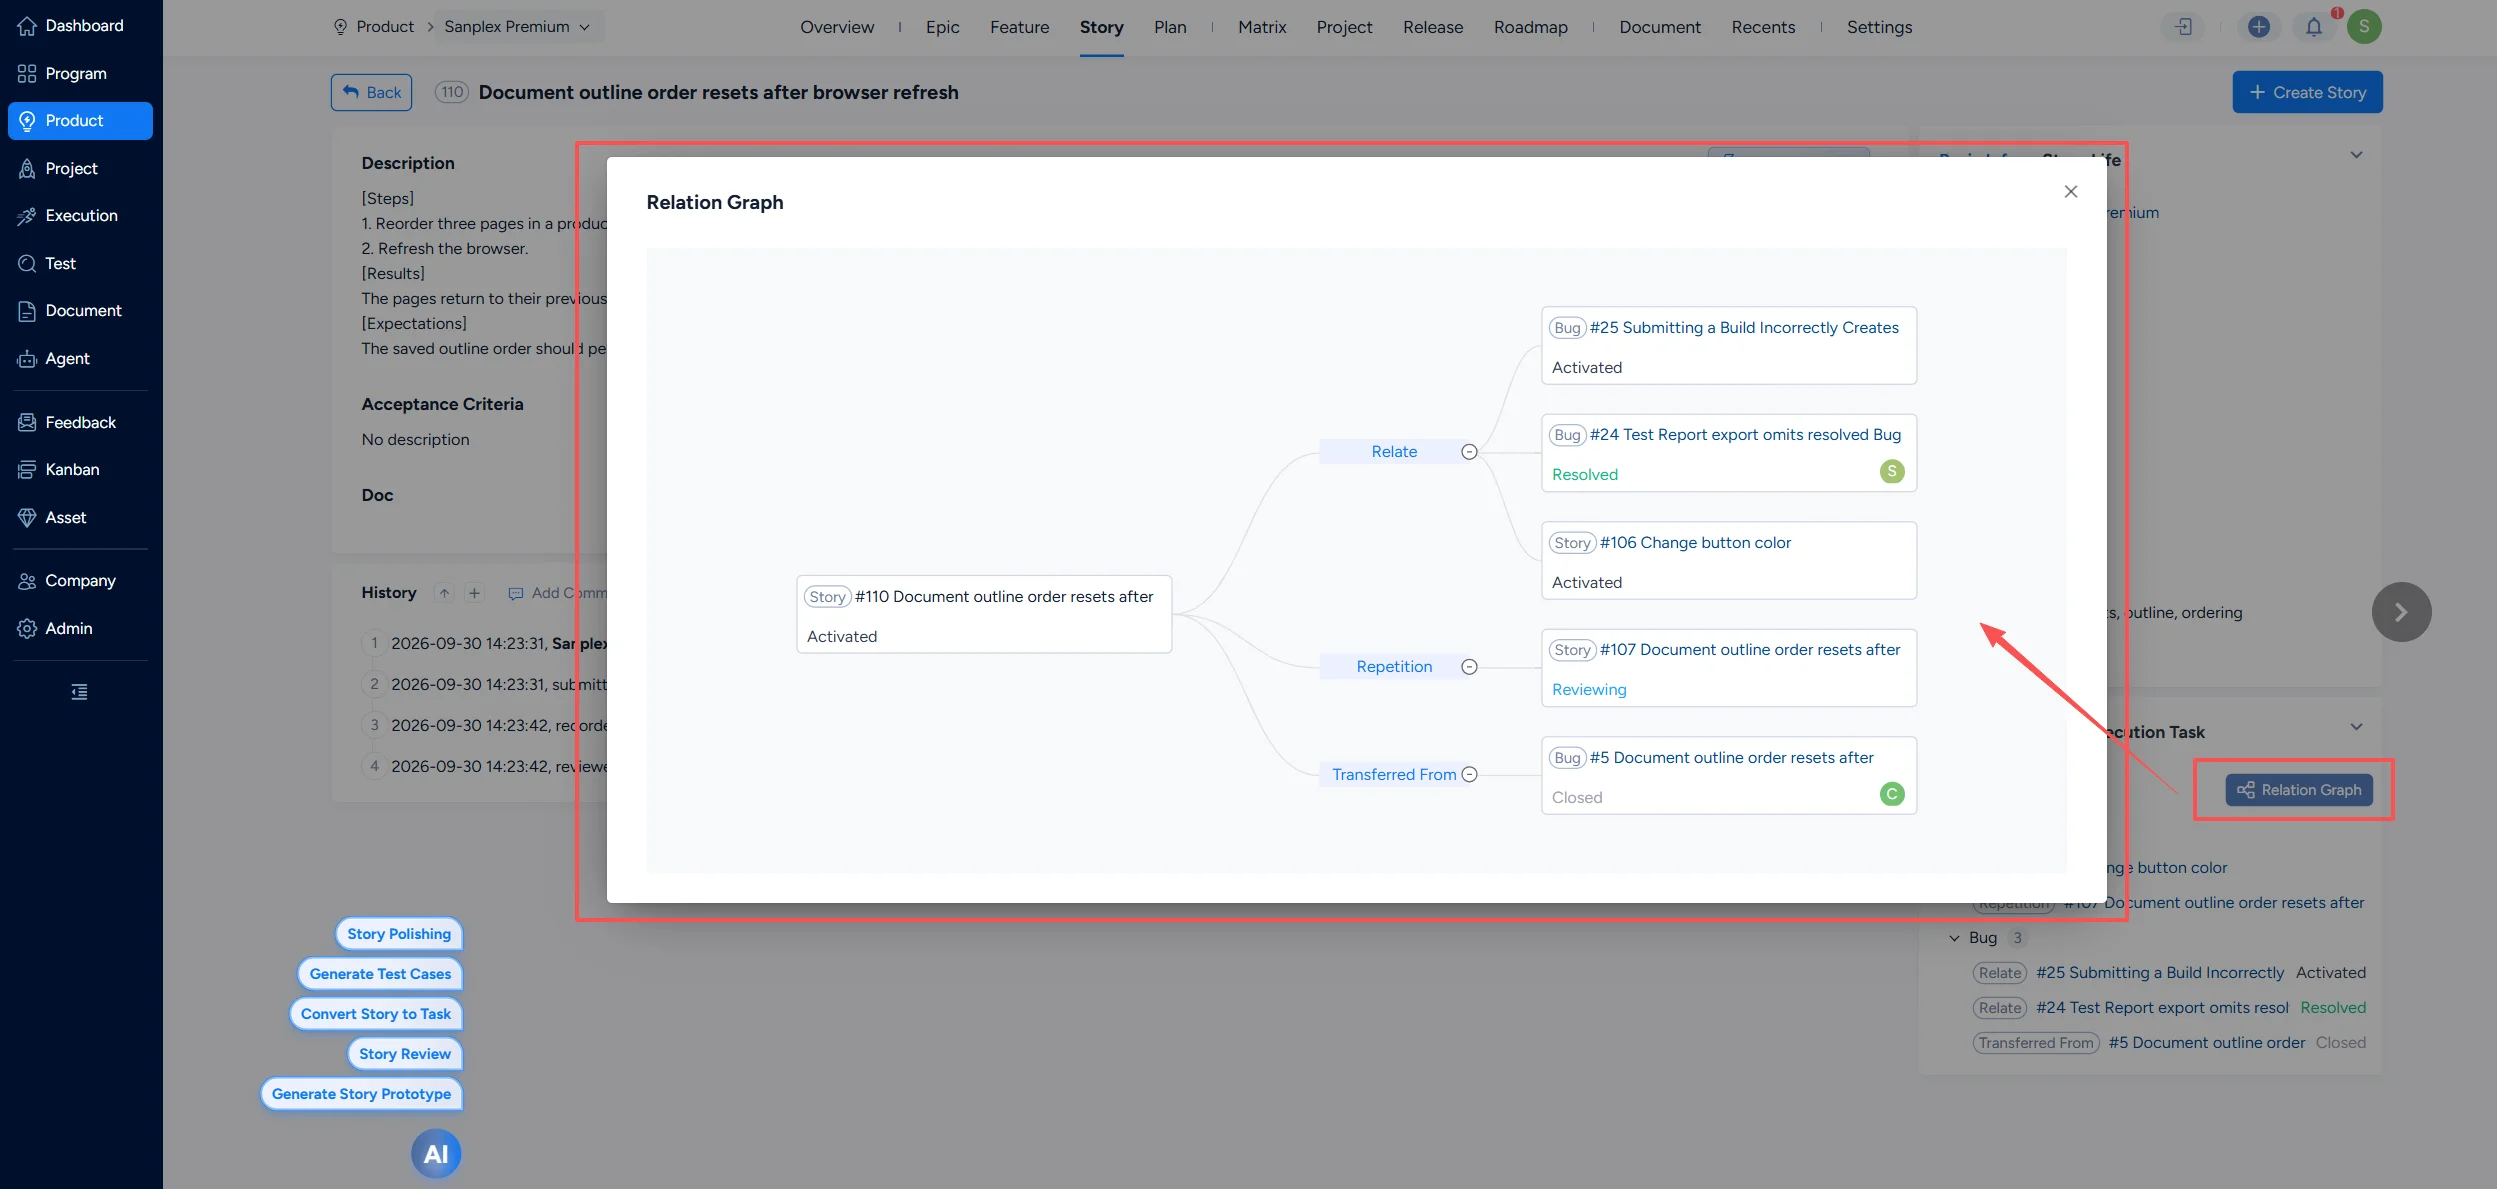
Click Relation Graph, or use the graph view in the linked objects dialog, to display the relations.
In the graph, click the name of an object to view the relations and linked objects of that item.
The list also provides a new Linked Objects column; click it to view the relation graph as well.
4. Removing Relations
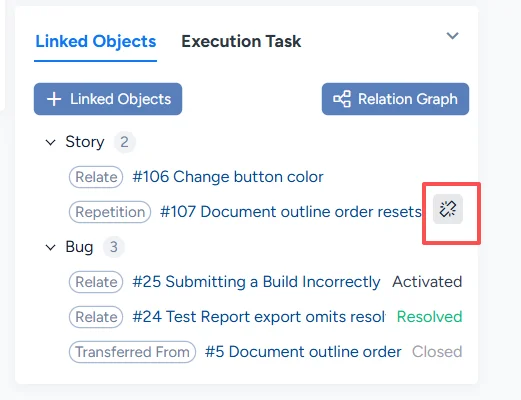
Hover over the name of a linked object, and a button for removing the relation is displayed on the right. Click it to remove the relation so that it is no longer displayed in the list.
Relations generated by system data or by user actions during workflow transitions cannot be removed from Linked Objects.
- Note: for twin stories, remove the relation on the Twin Story tab.
II. Configuring Relations in the Admin
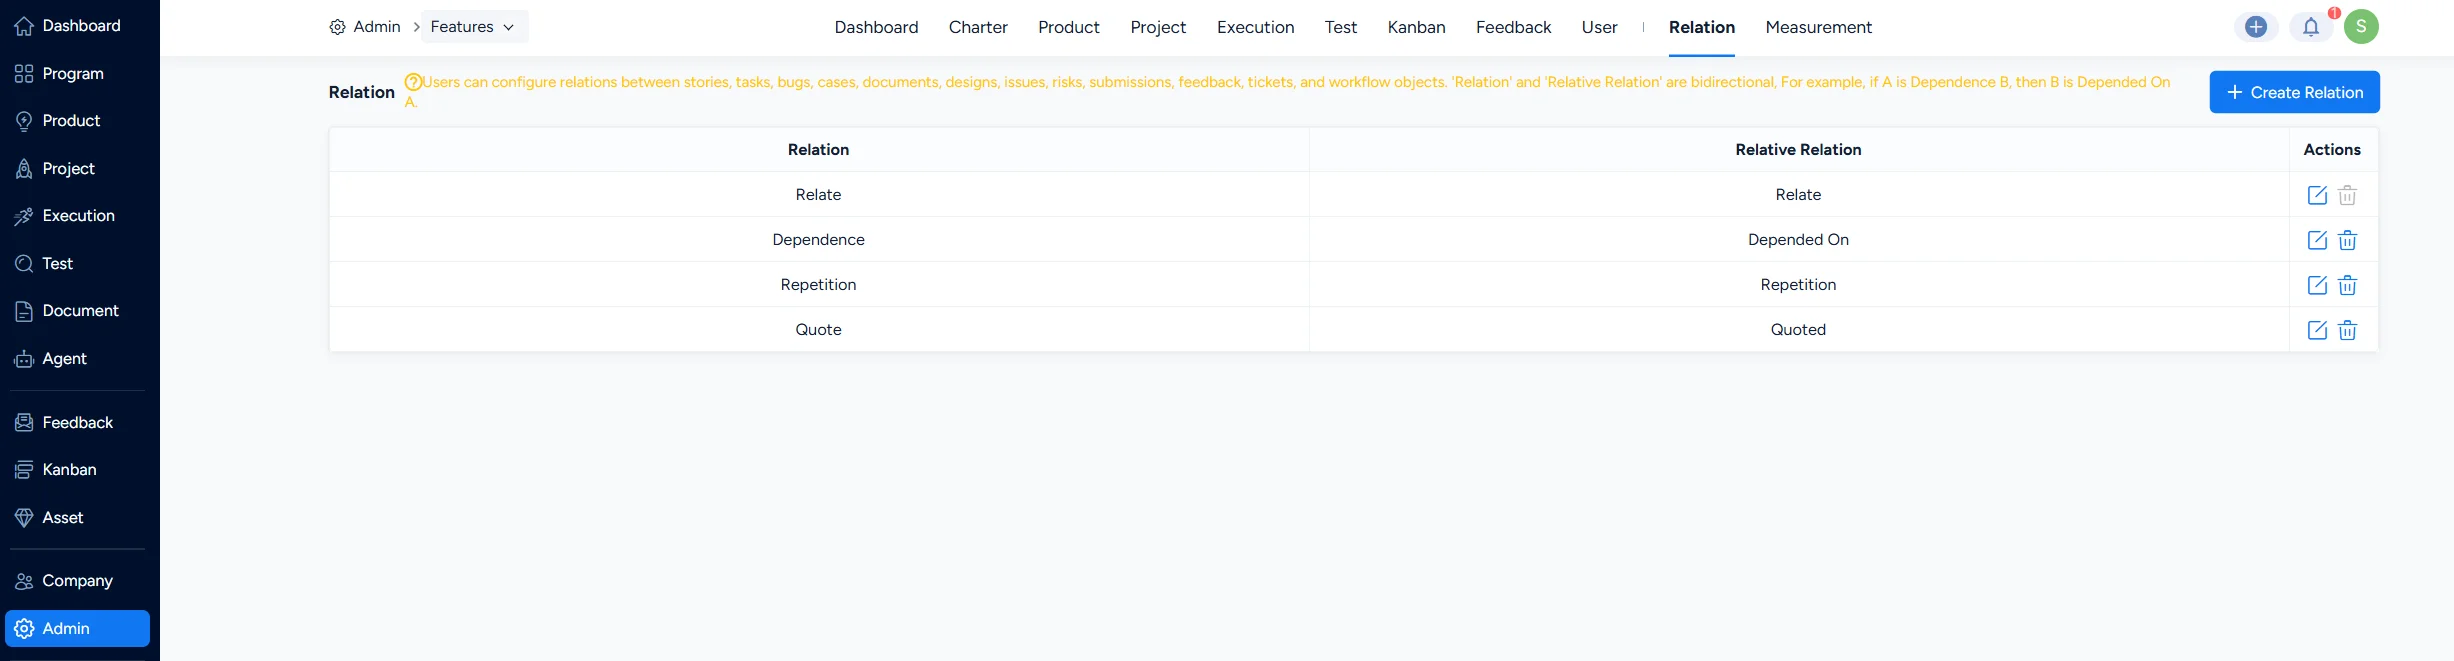
Go to Admin > Features > Relations to view the four default relations; the Related one cannot be deleted.
- In Sanplex, you can link epics, features, stpries, tasks, bugs, test cases, documents, designs, issues, risks, opportunities, commits, feedback, tickets, and workflow objects.
- Relations are two-way and are displayed on the detail page of the linked object. For example, if A depends on B, then B is depended on by A.
1. Creating a Relation
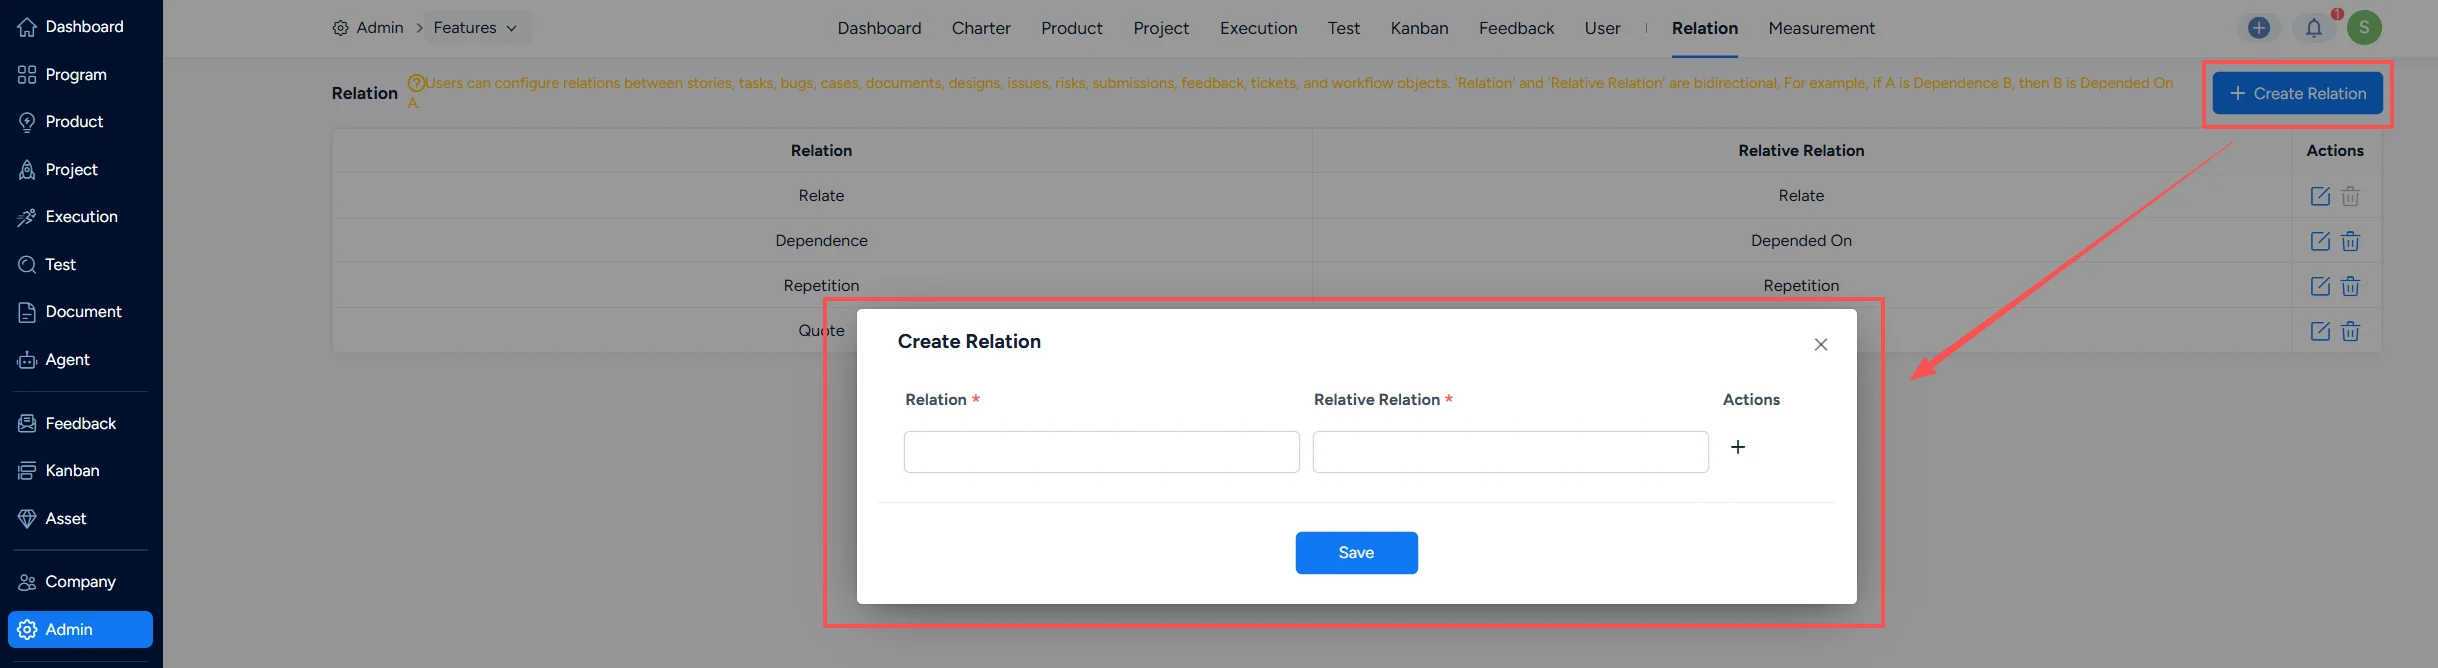
Click Create Relation to create a relation; once created, it can be used when linking objects.
"Relation" and "Reverse Relation" come in pairs. For example, if the relation is "depends on", the reverse relation is "depended on by"; when A "depends on" B, it means B is "depended on by" A.
A duplicate relation name triggers a prompt, but you can still save it; choose according to your specific situation.
2. Editing a Relation
Click Edit to rename a relation.
3. Deleting a Relation
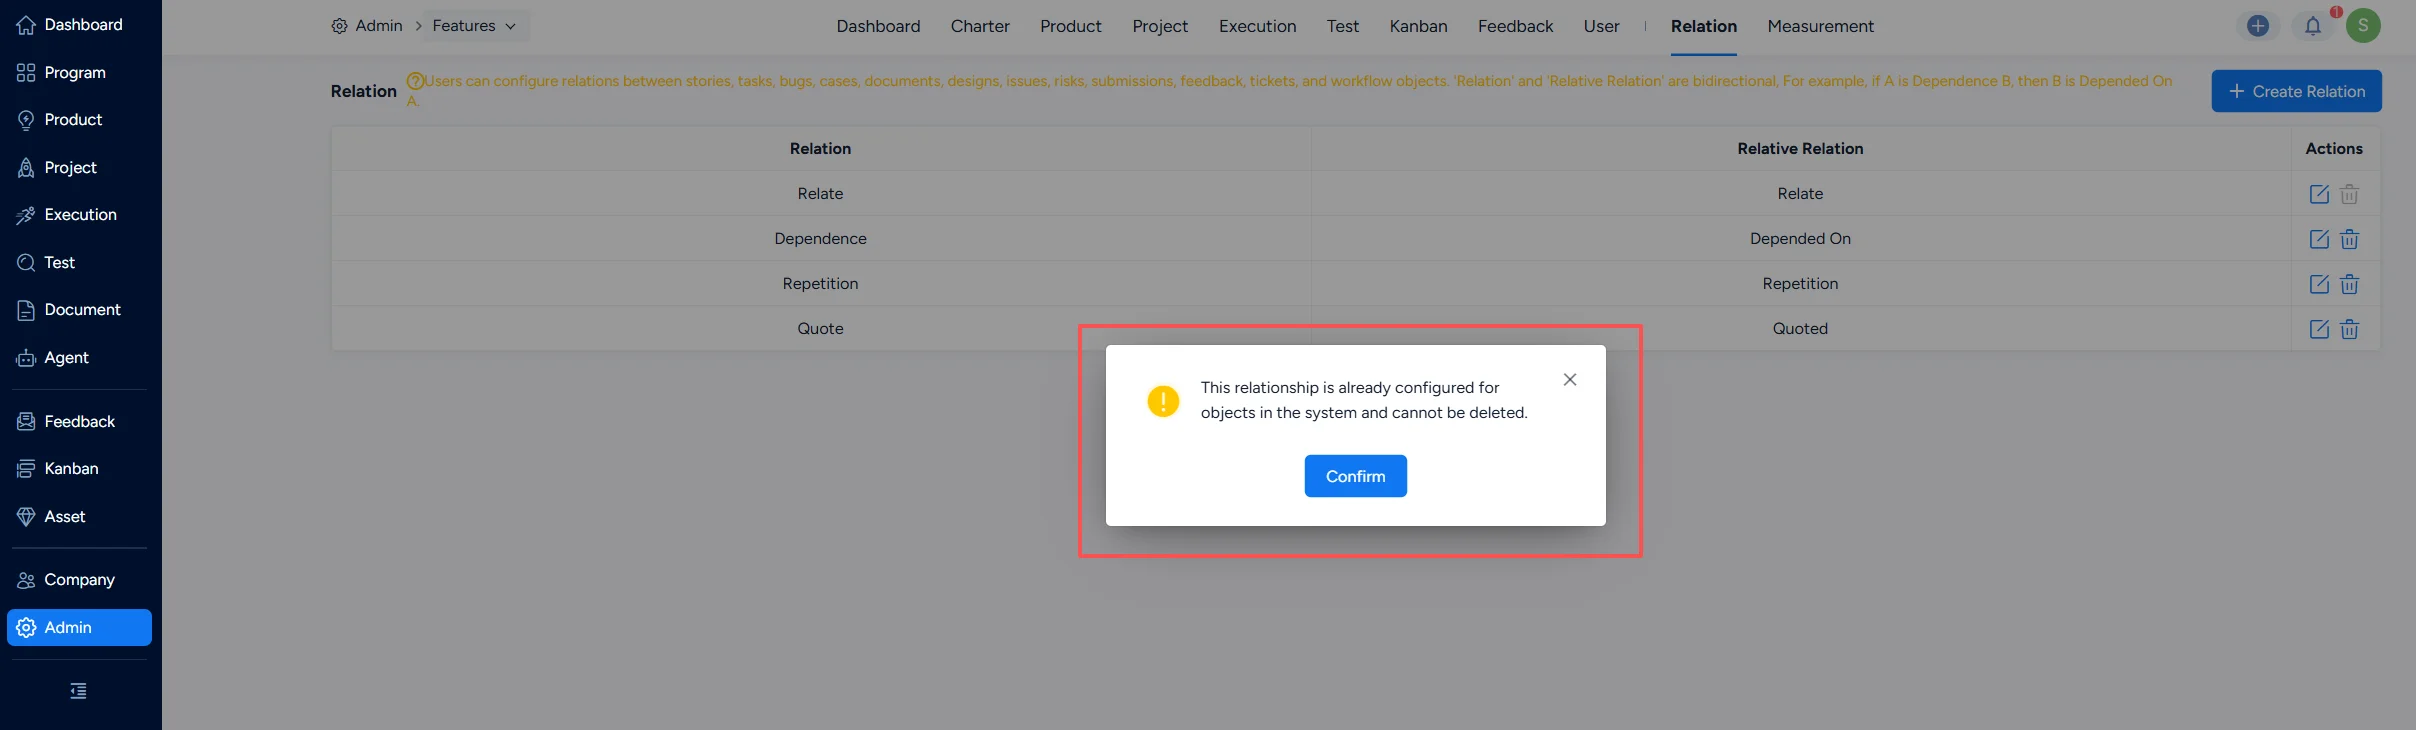
Deleting a relation is a physical delete. A relation that is already in use cannot be deleted, but it can be renamed.