Catalog
A project can create releases directly, and those releases are also synced to the release list of the linked product.
After testing is completed for a specific project build, you can create a release for the corresponding application version and publish it when it is ready.
The following example uses a Scrum project to explain the project release workflow.
I. Create an Application
Before creating a release, create an Application under the associated product.
Go to Product > Select a Product > Release, and click Manage Application. On the application list page, click Create Application in the upper-right corner.

When creating an application, you can choose whether it is an Integrated Application.
For an Integrated Application, select the applications to include. An Integrated Application can be used to group multiple applications into a combined deliverable.
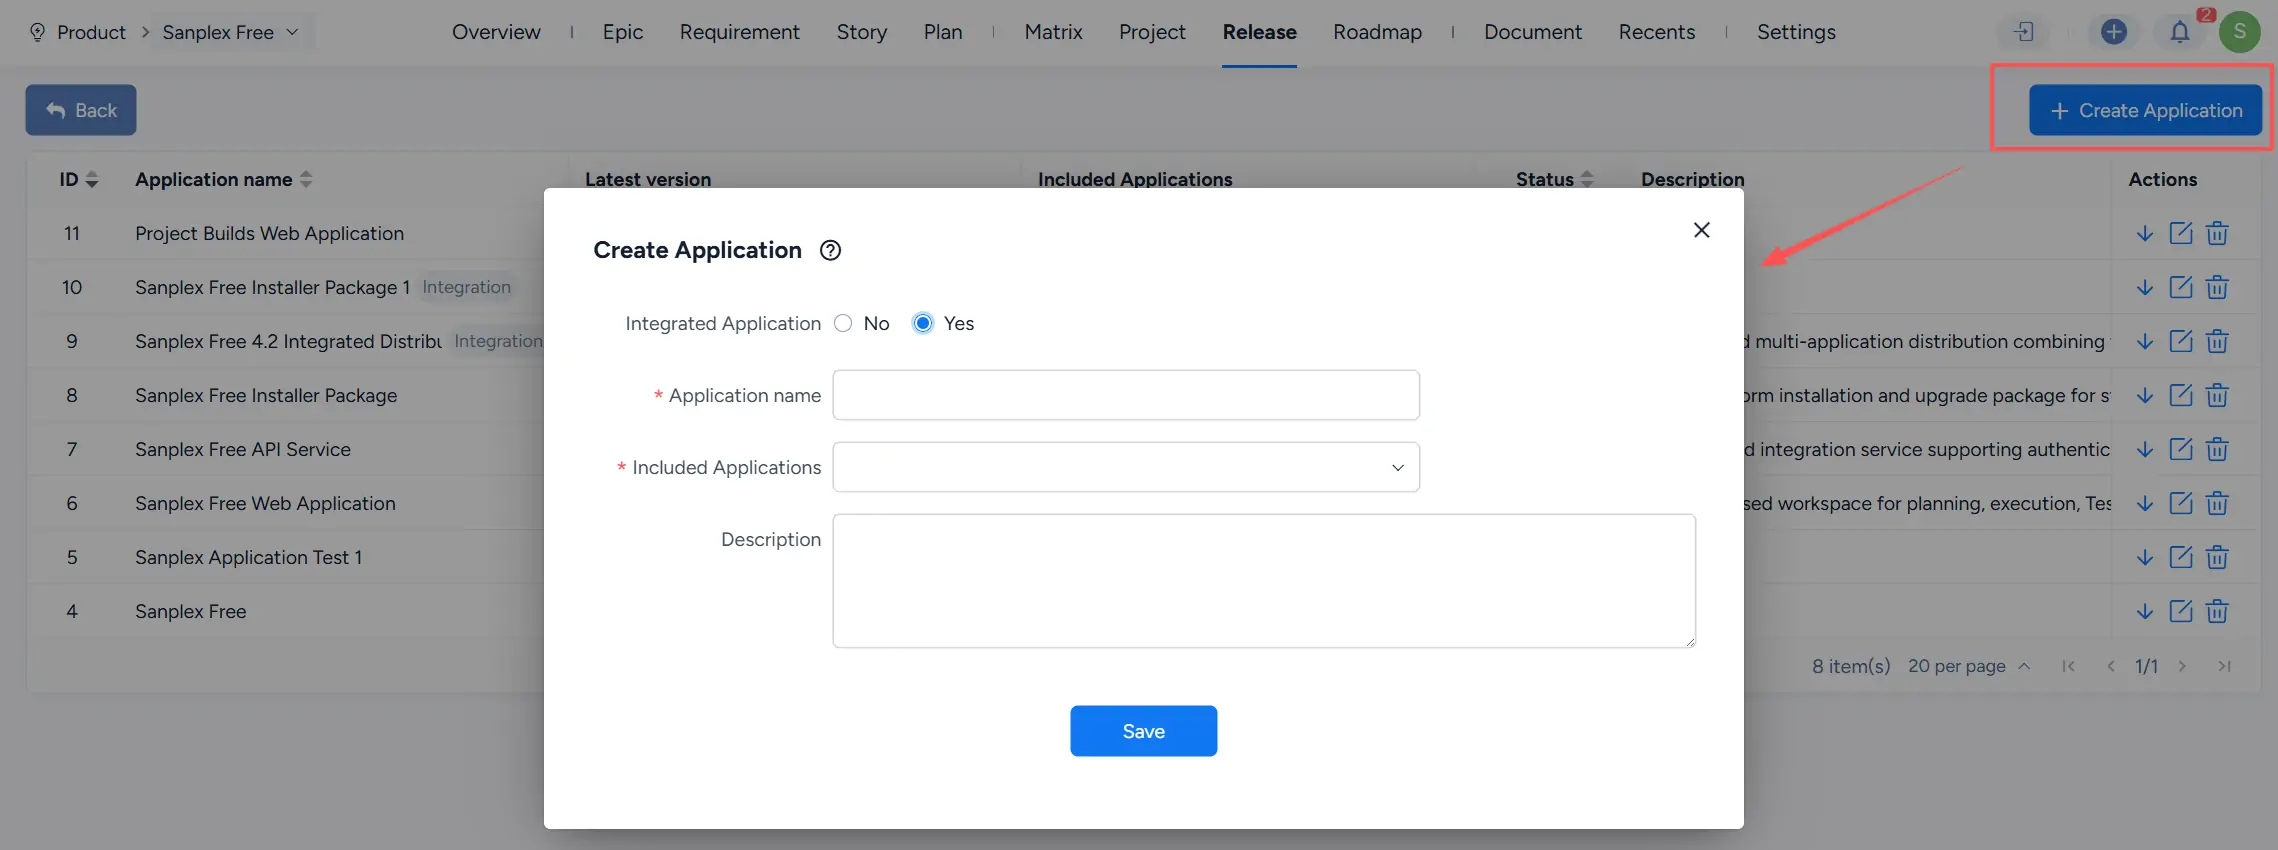
Click Save to create the application.
II. Create a Release
Go to Release and click Create Release.

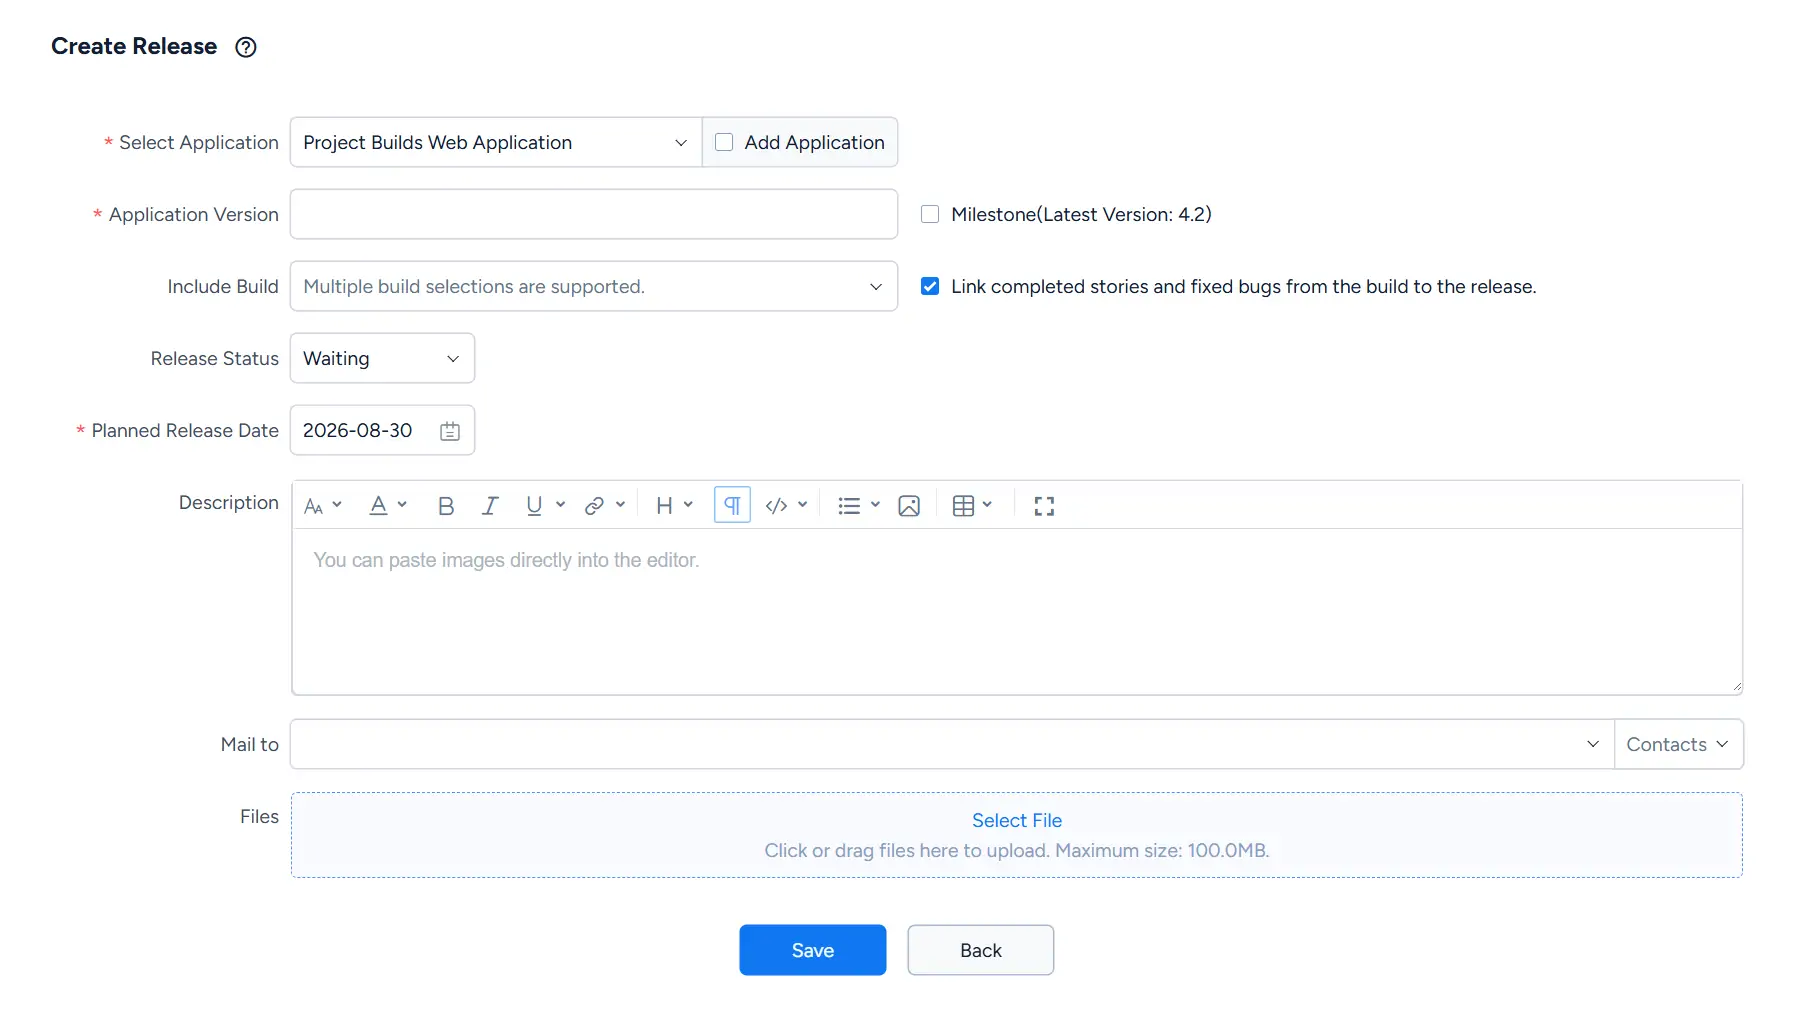
On the Create Release page, select the application, enter the Application Version, and set the Planned Release Date.
You can also:
- select one or more builds under Include Build
- mark the release as a Milestone
- link completed Stories and fixed Bugs from the selected build to the release
- enter a description
- specify mail recipients
- attach files
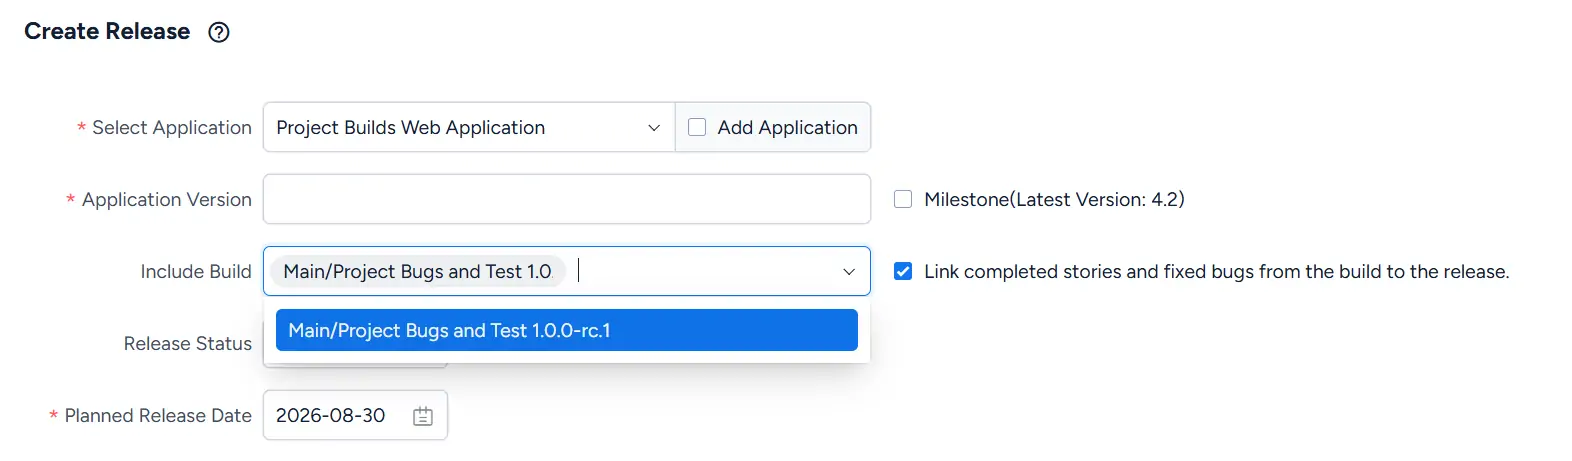
Use Include Build to select the build or builds associated with the release. When Link completed stories and fixed bugs from the build to the release is selected, the corresponding completed Stories and fixed Bugs are linked to the release.
Click Save to create the release.
III. Manage Stories and Bugs in a Release
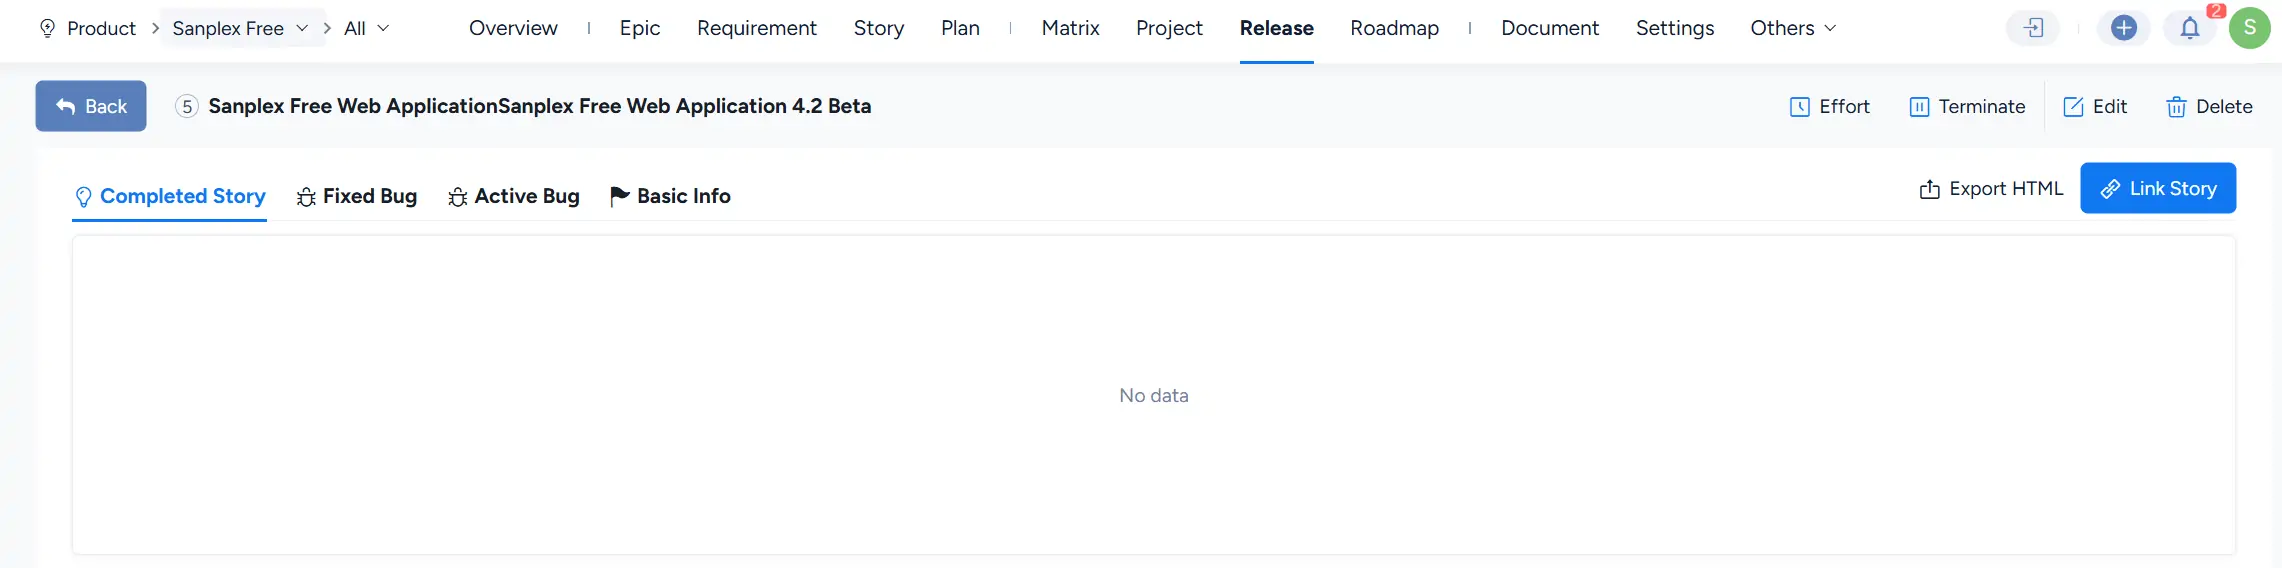
After the release is created, open its details page.
The release details include the following tabs:
- Completed Story
- Fixed Bug
- Active Bug
- Basic Info
You can review the Stories and Bugs associated with the release, use Link Story or the corresponding Bug linking actions to add items, and use available search conditions to locate records as needed.
IV. Manage a Release
On the release details page, you can use the available actions to manage the release.
These actions include:
- Effort — record effort for the release
- Edit — update release information
- Delete — delete the release
- Terminate — terminate the release when applicable

V. Publish a Release
When the release is ready, click Publish.
In the Publish dialog, select the release result:
- Released
- Release Failed
Enter the Actual Release Date, add notes if needed, and click Publish.
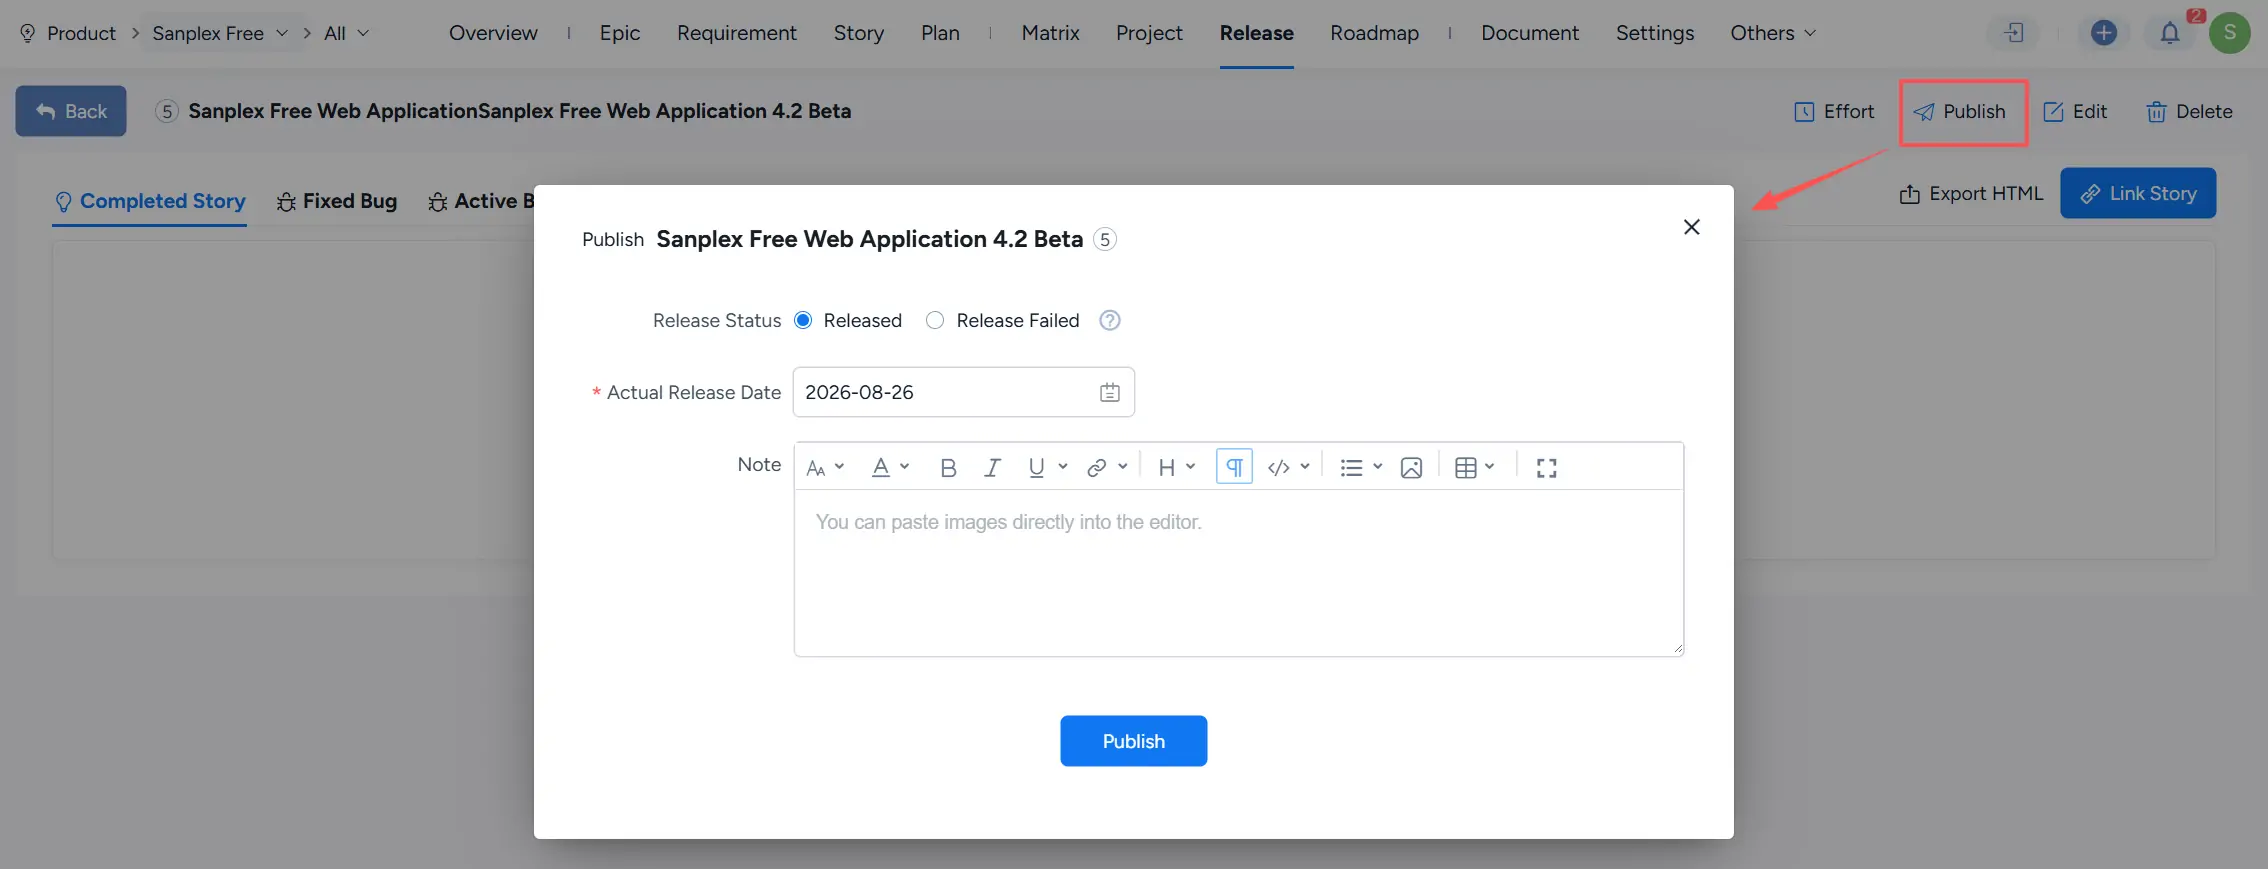
After publication, the release status is updated accordingly in the release list.
VI. Terminate a Release
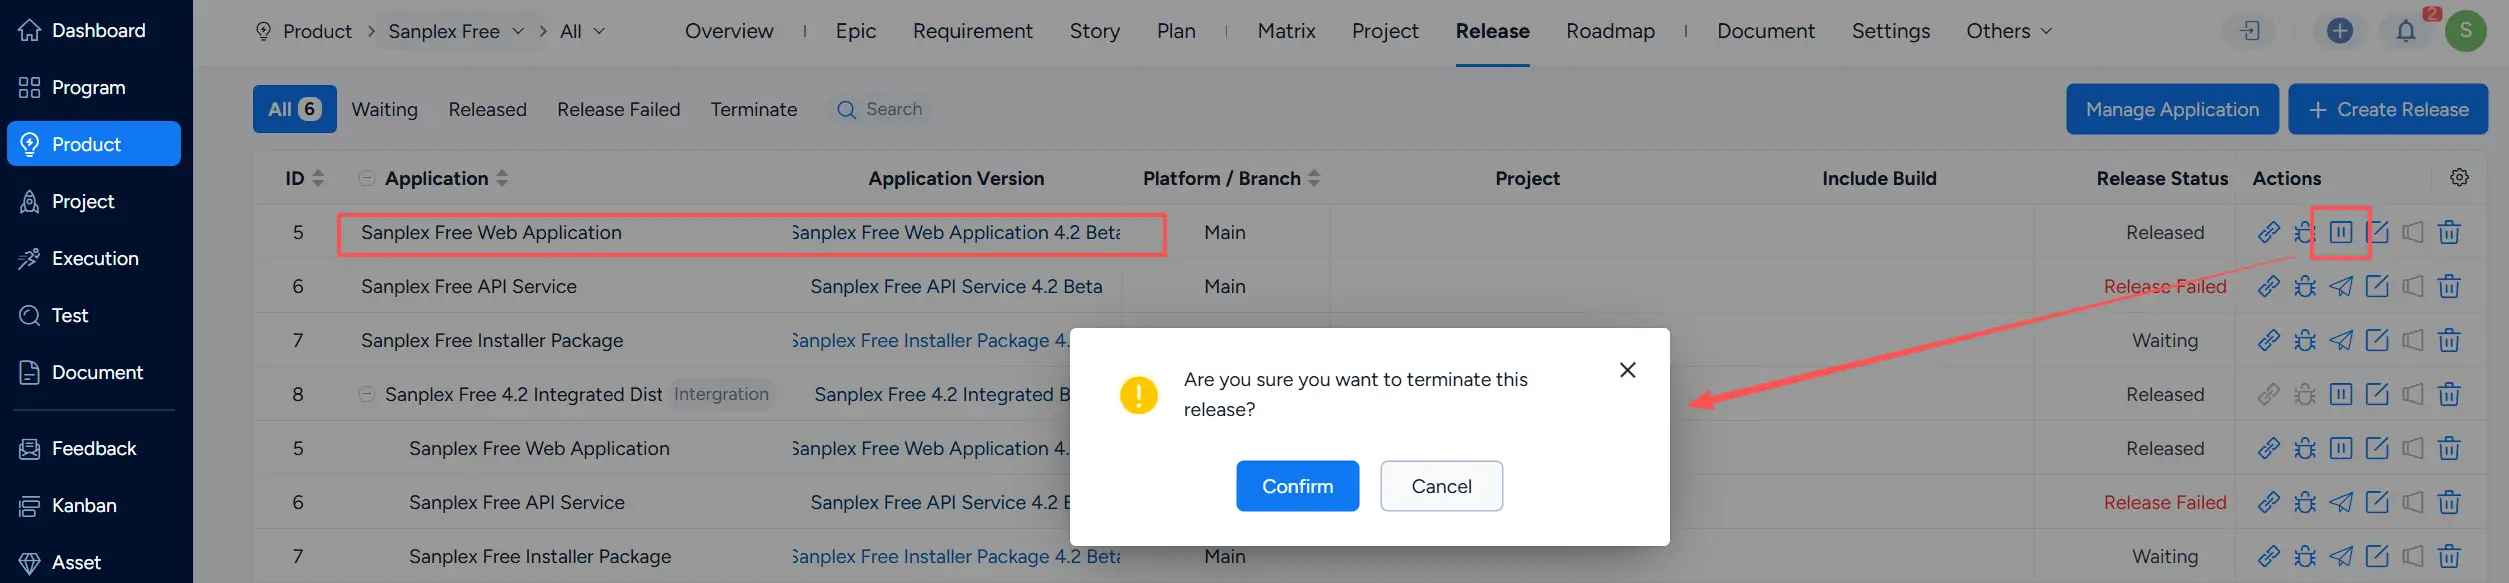
For a released version that should be terminated, click Terminate.
The system displays a confirmation dialog. Click Confirm to terminate the release.